Learn Watercolor Painting: Essential Tips for Beginners
Start watercolor painting with a small, budget-conscious kit. Learn to control water, build basic washes, mix color, and choose a class that fits your goals.
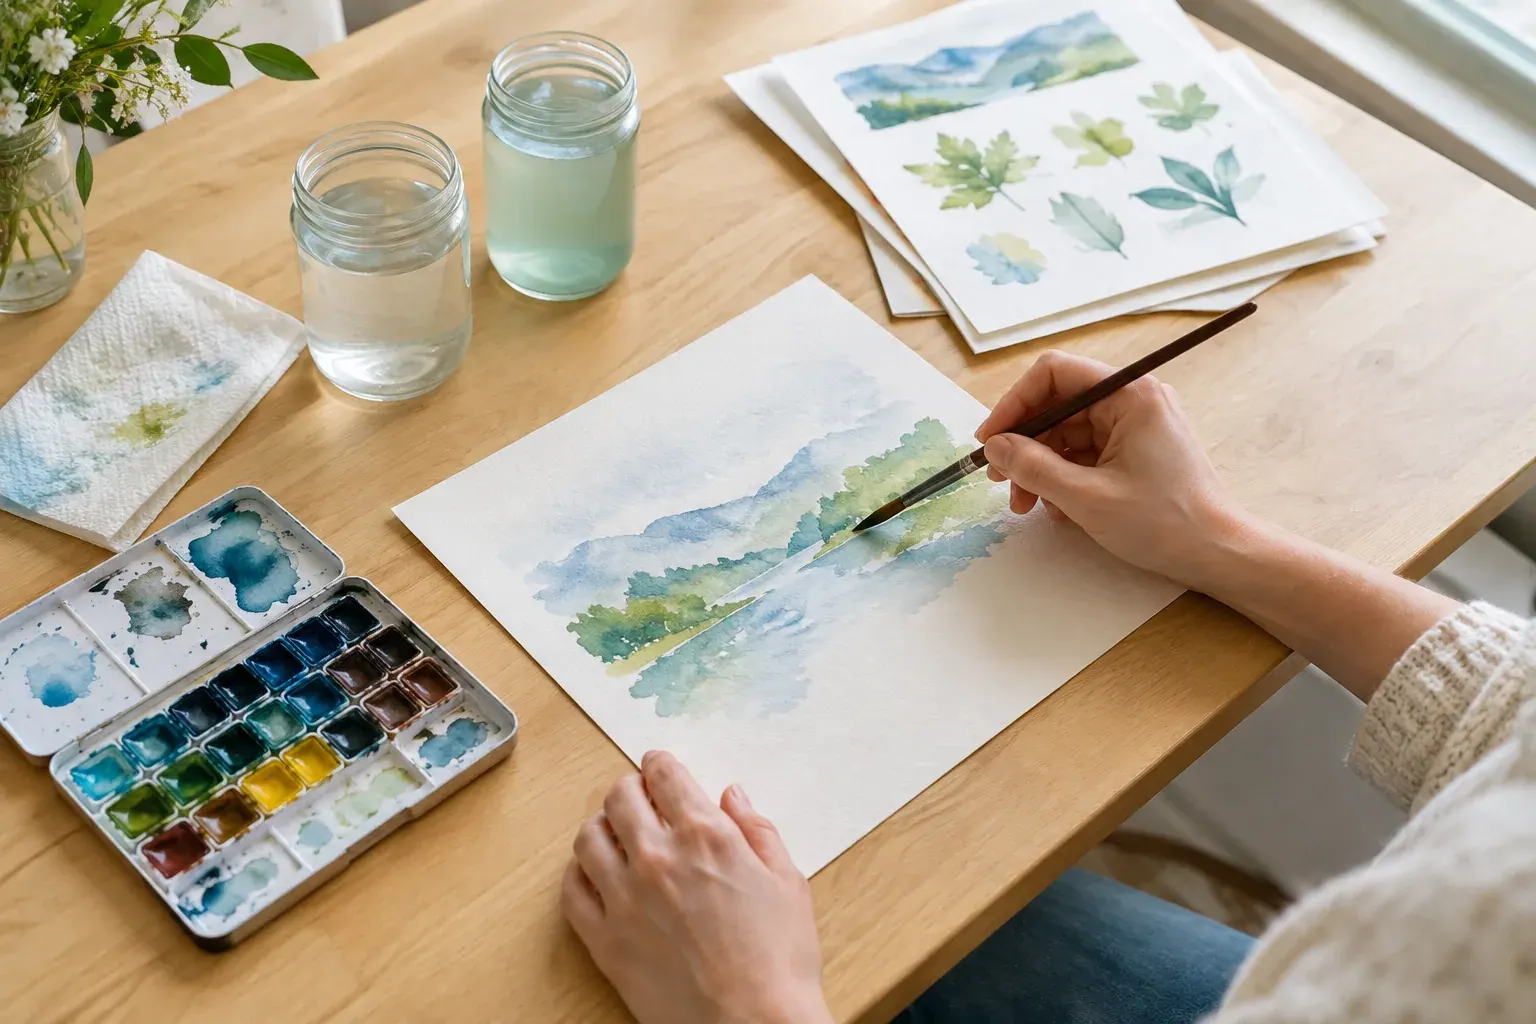
Key takeaways
- Start with 140-pound cold-pressed paper, a few reliable brushes, and a small set of student-grade paints.
- Use a flat, graded, or variegated wash to practice how pigment and water move across paper.
- Wet-on-wet creates soft edges; wet-on-dry gives you more control and sharper shapes.
- Test color mixtures on scrap paper and let each layer dry before adding another.
- Look for beginner classes through local art centers, libraries, community colleges, and museums.
In this guide
Watercolor is portable and needs relatively few supplies, but it can feel unpredictable at first. Paper absorbs water, pigment moves as it dries, and a small change in brush moisture can alter a whole shape.
You do not need an expensive kit or a natural talent for drawing to begin. This guide explains what to buy, how to practice the main techniques, and how to find instruction in the United States if you want support.
Build a beginner kit without overspending
Start with a short list rather than a large boxed set. The paper you paint on has a major effect on how washes behave, so it is often a better first upgrade than buying more colors.
| Supply | A useful starting choice | Where to save or upgrade |
|---|---|---|
| Paper | 140-pound, or 300 gsm, watercolor paper; cold-pressed texture | Choose a small pad or a few sheets. Upgrade to cotton paper when you want more forgiving washes and layering. |
| Paint | A small student-grade pan or tube set | Student paint is fine for learning. Buy a few individual artist-grade colors later if you want stronger pigment or clearer mixing. |
| Brushes | One medium round, such as size 8, and a smaller round, such as size 4 or 6 | Synthetic brushes are affordable and work well. Add a larger brush if you need broad washes. |
| Other basics | Two water containers, a palette, paper towel, pencil, and a board | Use household containers and a plain plate or reusable palette. Keep tools dedicated to painting. |
Paper weight describes the weight of a ream, not how thick one sheet feels. A 140-pound sheet is a common starting point, while thinner paper tends to buckle more when wet. Cold-pressed paper has a moderate texture that suits many subjects; hot-pressed paper is smoother, and rough paper has a more pronounced texture.
Cellulose paper costs less and is suitable for exercises. Cotton paper usually handles water and repeated layers better, but it costs more. If you are choosing one upgrade, try a small pack of 100% cotton paper before buying a large quantity. A block with glued edges can help sheets stay flatter, though it does not guarantee that paper will remain perfectly flat.
Student-grade paints are made for practice and are usually less expensive. Artist-grade paints often have a higher pigment concentration and more detailed information about pigment and lightfastness, but student paint can still teach you color mixing and brush control. A compact set is easier to learn than a large assortment. Pans are convenient to carry; tubes are useful when you need to mix larger amounts of paint.
Choose brushes that hold a point and spring back after use. A medium round can make both lines and small shapes, while a smaller round helps with details. You can postpone specialty brushes, and you do not need a complete brush set. Rinse brushes well, reshape the bristles, and let them dry flat or with the bristles facing down.
Pro tip: Put your first money toward paper that is made for watercolor. If paint keeps pooling or the surface breaks down when you lift color, changing paper may help more than changing paint.
Set up your paper, water, and palette
Tape a sheet to a rigid board if you want a stable surface. Leave a narrow border around the painting, and press the tape down without stretching the paper. Some buckling is normal, especially on thinner sheets.
Keep two containers of water nearby: one for the first rinse and one for cleaner water. Change the water when it looks muddy. Use one side of the palette for clean color and leave room to dilute mixtures with water.
Before painting, make a few pencil marks lightly. Heavy lines can show through transparent paint, and repeated erasing can roughen the paper. If you need to erase, do it gently before adding water.
Watercolor is controlled by the balance of water on the brush, water on the paper, and pigment in the mixture. A brush that is dripping wet can flood a small shape; a brush that is too dry may leave broken marks. Make a few test strokes on scrap paper before starting the main exercise.
Practice three basic washes
A wash is a connected area of diluted paint. Learning to make washes gives you control over backgrounds, skies, broad shapes, and simple color transitions.
- Flat wash: Mix enough paint for the whole shape before you begin. Hold the board at a slight angle, draw a horizontal stroke near the top, then move downward with overlapping strokes. Keep a small bead of wet paint along the bottom edge and pick it up with the next stroke. Work steadily rather than returning to a section that has started to dry.
- Graded wash: Begin with a more concentrated mixture. Work downward in horizontal strokes, adding a little clean water to the brush as you go so the color becomes lighter. Practice on a small rectangle first; aim for a gradual change rather than a perfectly uniform fade.
- Variegated wash: Start with one color, then introduce a second while the paper is still wet. Let the colors meet and shift naturally. This is useful for practicing transitions, but it can become muddy if you repeatedly stir the colors on the page.
Use a pencil and ruler to divide a sheet of scrap paper into small boxes. Label each box with the wash you are practicing, then try the same wash with a different amount of water. Comparing the dried results shows you how much the color lightens as it dries.
Choose wet-on-wet or wet-on-dry
These two approaches describe whether the paper is wet when you apply paint. Neither is better in every situation. Choose based on the edge and amount of control you want.
Wet-on-wet means applying paint to damp paper. Brush clean water across the area, then wait until the surface has an even sheen rather than visible puddles. Touch in color and watch it spread. The dampness, paper, and amount of water all affect how far the pigment travels, so try several small tests before using the method on a finished painting.
Use wet-on-wet for soft transitions, loose backgrounds, and shapes that should blend. If the paper is too wet, the color may travel farther than intended. If the surface has already dried, the paint will make a sharper mark instead.
Wet-on-dry means applying a wet brush to dry paper or a dry layer of paint. It usually gives you more control over the edge of a shape, making it useful for leaves, windows, and other defined forms. For a new layer, let the earlier paint dry fully first. Otherwise, the new color can disturb the first layer or spread into it.
Edges can be crisp, soft, or partly softened. To soften one, rinse your brush, blot off excess water, then gently draw the damp brush along the edge while it is still workable. Avoid scrubbing, which can damage the paper or lift more pigment than you intended.
Good to know: Drying time varies with the paper, amount of water, room conditions, and paint. Check the surface before layering instead of relying on a fixed number of minutes.
Mix color with a small palette
You can learn a lot with a limited palette. Choose a yellow, red, and blue, or begin with six colors that include a warmer and cooler version of each. Paint labels can help you identify pigments, but color names and behavior differ among brands.
Start with small amounts and mix on the palette, not directly on the painting. Make a swatch on scrap paper and wait for it to dry before deciding whether the mixture is too dark, too warm, or too dull. Watercolor often looks more intense when wet than it does after drying.
A few habits make mixing easier:
- Add pigment gradually to water. It is easier to deepen a pale mixture than to correct one that is too dark.
- Rinse the brush before picking up a different color, and wipe it if you want a clean, bright mixture.
- Mix two colors at a time while learning. Adding many pigments can make a mixture dull or hard to reproduce.
- Try a complementary color, one opposite another on a color wheel, in a small amount to quiet a mixture. Add it gradually because it can change the color quickly.
- Keep a simple record of the colors you mixed and the amounts you used. A small mixing chart can become a useful reference.
Transparent colors allow light to reflect through the paper and the paint. Some pigments are more opaque or granulating, which means they settle into a textured pattern. Those qualities are not mistakes, but it helps to know what your paints do before using them for a smooth wash.
Follow a first practice plan
Short, focused exercises build control faster than trying to paint a complicated scene right away. Set aside 20 to 30 minutes when convenient, and use inexpensive practice paper for the early drills.
| Practice session | Exercise | What to notice |
|---|---|---|
| 1 | Make pencil lines, dots, and brush strokes with a small and medium round brush | How brush angle and pressure change the mark |
| 2 | Paint flat, graded, and variegated washes | How much water you need and how the wash dries |
| 3 | Try wet-on-wet and wet-on-dry in small shapes | How paper dampness changes the edges |
| 4 | Mix a color chart using two colors at a time | Which mixtures stay bright, turn dull, or dry lighter |
| 5 | Paint a simple subject, such as a few leaves or a mug | Which skills need another practice round |
For the simple subject, sketch only the largest shapes. Paint the broadest light areas first, let them dry, then add darker shapes or small details. You can also work from a photo or a still life you arrange at home. The aim is to practice a sequence, not to make a finished piece suitable for framing.
Repeat any exercise that feels difficult. Make a note about what happened, such as the paper was too wet or the mix was too dark, then change one thing the next time. Changing one variable at a time makes it easier to learn what caused the result.
Avoid common beginner mistakes
- Using paper that is too thin: It can buckle and may not tolerate repeated wet layers. Use watercolor paper for practice, even if you choose an inexpensive cellulose pad.
- Buying a large set before you know what you need: More colors do not automatically make mixing easier. Start small and add a color when you can explain what it will help you paint.
- Using too much water: A puddle can send pigment beyond the shape you intended. Blot the brush on a paper towel and test it before painting.
- Going back into a drying wash: The brush can create streaks, blossoms, or uneven edges. Let the area dry, then decide whether another layer will solve the problem.
- Overworking the paper: Repeated scrubbing can rough up the surface and lift color. If a mark is not improving, let it dry and try a light layer later.
- Expecting every wash to dry exactly as it looked wet: Watercolor changes as water evaporates. Test mixes, and plan to build color in layers rather than forcing one pass to do everything.
- Trying to make every edge sharp: A painting can feel stiff when all its shapes have the same hard outline. Mix crisp and soft edges according to the subject.
Safety note: Do not put brushes in your mouth, and wash your hands after painting. Read paint labels, keep paint and rinse water away from food, and follow the manufacturer’s precautions for any pigment identified as hazardous.
Find a watercolor class in the United States
A class can help you see how an instructor loads a brush, manages a wash, and corrects a problem. Look for beginner sessions through local art centers, community colleges and their continuing education programs, museums, public libraries, parks and recreation departments, or watercolor societies. Availability and schedules vary by location.
Before signing up, check the course description for skill level, class length, and whether supplies are included. Ask what paper and paints you should bring, whether the class focuses on technique or finished projects, and if there is a materials list you can buy gradually. A beginner class should give you time to practice basic washes and ask questions.
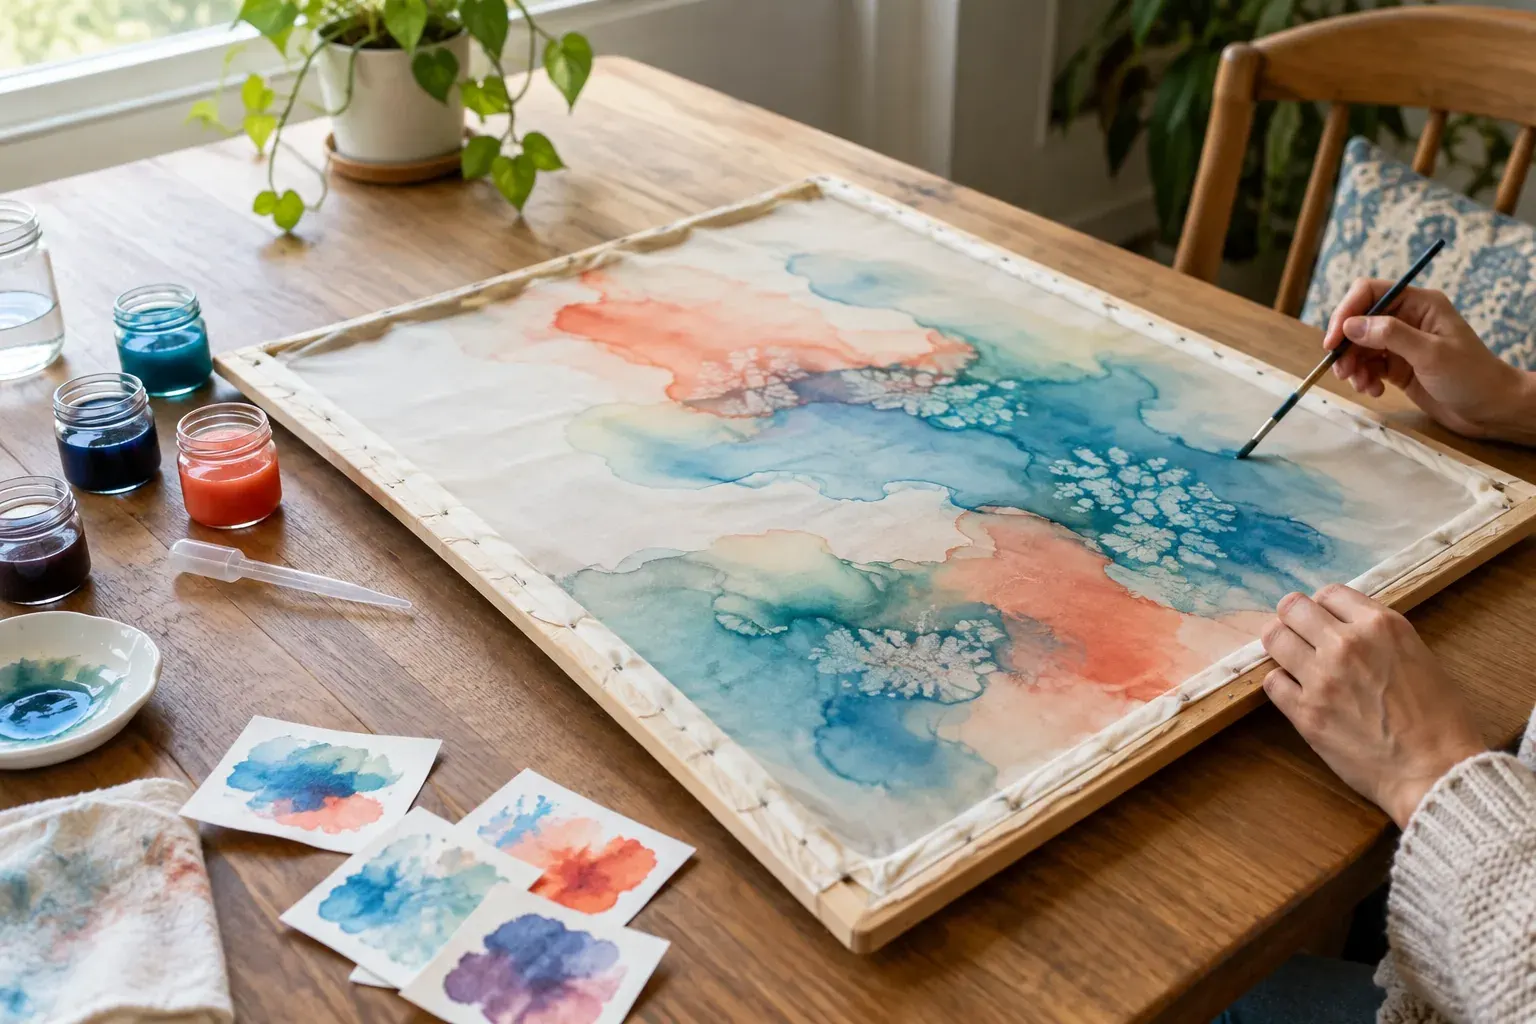
If an in-person class is not practical, look for structured online lessons that show the brush and paper clearly. Follow one lesson at a time and paint along with the exercise rather than collecting videos without practicing. For another hands-on art skill, see Silk Painting Techniques; it uses different materials and methods, but also rewards careful work with color and a brush.
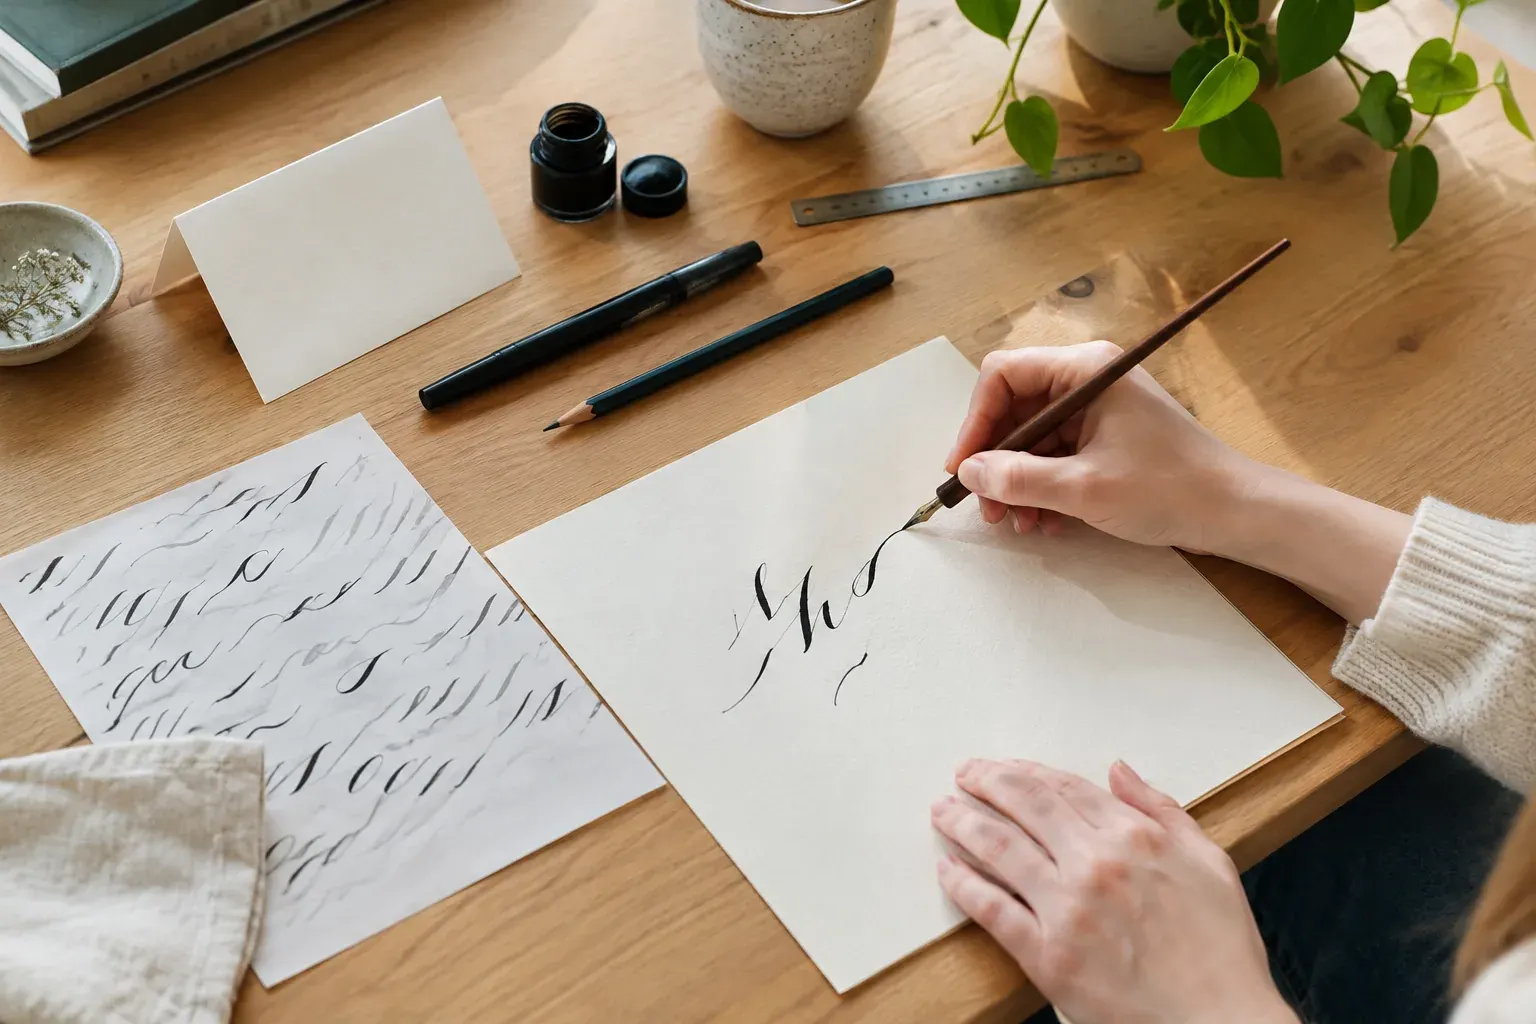
When you want a different kind of steady hand practice, Modern Calligraphy for Beginners offers another creative skill to learn in short sessions. Keep your watercolor exercises separate from finished work so you can experiment without worrying about wasting a good sheet.
The Bottom Line
You can start watercolor painting with a small set of paints, two or three brushes, and paper made for watercolor. Practice washes, water control, and color mixing on small sheets before moving on to a detailed painting.
Expect some uneven results while you learn. Keep a few notes, repeat the exercises that teach you something, and upgrade supplies only when you know what is limiting your work.
Frequently asked questions
What watercolor supplies should a beginner buy first?
Start with 140-pound cold-pressed watercolor paper, a small student-grade paint set, a medium round brush, and a smaller round brush. Add two water containers, a palette, paper towel, and a board if you want to tape down your paper.
Is student-grade watercolor paint good enough for beginners?
Yes. Student-grade paint is a practical way to learn washes, color mixing, and brush control. Artist-grade paints often offer more pigment and detailed pigment information, so you can try individual artist-grade colors later if you want.
What is the best watercolor paper weight for beginners?
A common starting point is 140-pound paper, which is also labeled 300 gsm. It is designed for watercolor and generally handles practice washes better than ordinary drawing paper, though it can still buckle when wet.
What is the difference between wet-on-wet and wet-on-dry watercolor?
Wet-on-wet means applying paint to damp paper, which encourages soft, spreading edges. Wet-on-dry means painting onto dry paper or a dry layer, which usually gives you more control and sharper shapes.
Where can I find a beginner watercolor class near me?
Check local art centers, community colleges, museums, public libraries, parks and recreation departments, and watercolor societies. Confirm the course is suitable for beginners and ask whether supplies are included or listed separately.