Winter Wildlife Photography: Essential Tips for Snow, Cold and Low Light
Snow can fool your camera meter, cold can drain batteries, and wildlife needs extra space in winter. Use these practical steps to prepare, shoot and stay safe.
Key takeaways
- Start with positive exposure compensation in bright snow, then check the histogram to protect highlights.
- Shoot RAW when possible so you can fine-tune white balance and exposure later.
- Keep spare batteries warm and seal cold gear before bringing it into a warm room.
- Look for tracks, feeding areas and sheltered habitat without following or crowding animals.
- Give wildlife room to feed and travel, and leave if your presence changes its behavior.
In this guide
- Prepare for the conditions, not just the subject
- Expose snow without turning it gray
- Choose shutter speed and focus for the animal
- Protect batteries and camera gear from cold and condensation
- Find wildlife by reading the habitat
- Keep winter wildlife photography ethical
- Common mistakes to avoid
- The Bottom Line
Winter wildlife photography asks you to solve several problems at once: snow can confuse your camera’s meter, cold shortens battery life, and low light makes fast shutter speeds harder to get. You also need to stay warm enough to make careful decisions outdoors.
This guide covers practical camera settings, cold-weather gear care, ways to look for animals and ethical field habits. You do not need expensive equipment to begin, but planning and patience matter more than chasing a close encounter.
Prepare for the conditions, not just the subject
Before you leave, check the forecast, road and trail conditions, daylight hours, and any seasonal closures. Winter access can change quickly, including on public lands. Check current guidance from the land manager, such as the National Park Service, a state wildlife agency or a national wildlife refuge, and carry a map that works without cell service.
Think about what you will photograph. A stationary animal in open snow gives you time to adjust exposure; a bird in flight requires a faster shutter speed and steady tracking. A telephoto lens helps you frame distant wildlife without approaching it. A shorter lens can be useful for habitat scenes, but do not move closer to make an animal fill the frame.
A basic field kit may include:
- Camera, lens and a charged battery in the camera
- At least one spare battery, kept in an inside pocket
- Lens cloth, spare memory card and a protective cover or dry bag
- Warm layers, insulated footwear, hat and gloves that let you operate controls
- Water, food, a headlamp, navigation and any needed traction or emergency gear
If you are new to photographing animals, review the basics of wildlife photography and camera technique before heading out. A short practice session in a nearby park can help you learn your camera’s controls while your hands are still warm.
Good to know: Cold weather can make a battery indicator drop quickly, then recover somewhat after the battery warms. Treat the camera’s warning as real, and swap in a warm spare rather than relying on a temporary recovery.
Expose snow without turning it gray
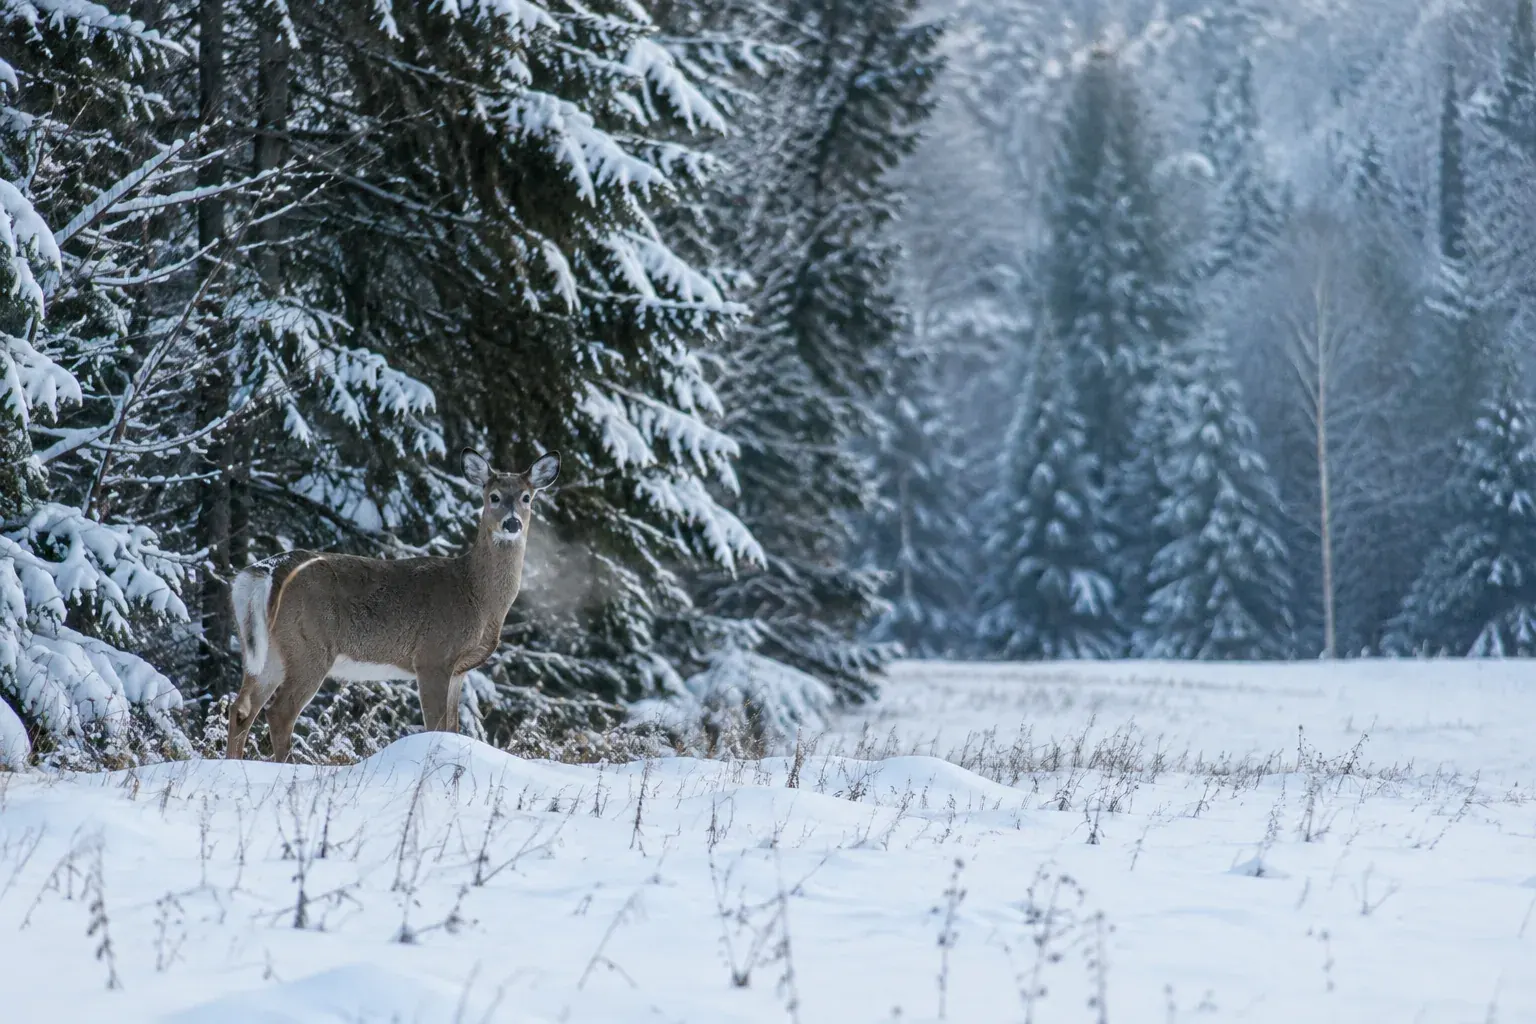
Most camera meters are designed to render a scene as a middle tone. A wide, bright field of snow can therefore come out gray if you let the meter choose the exposure. Positive exposure compensation is a useful starting point, often around +1 to +2 EV in a bright snow scene, but the right amount depends on the light, the subject and how much snow fills the frame.
Use these steps:
- Set exposure compensation above zero, or use manual exposure if you are comfortable doing so.
- Take a test frame and review the histogram and highlight warnings, sometimes called blinkies.
- Add exposure if snow looks dull or gray. Reduce it if important snow detail is flashing as clipped white.
- Recheck when you change from open snow to shadow, backlight or a dark animal against a bright background.
A little clipped sparkle in the brightest snow may be unavoidable, but try to retain texture where it matters. If the animal is dark and the snow is bright, decide what matters most in the frame. Exposing for the animal may sacrifice some snow detail; exposing for snow can leave the animal too dark. Shoot RAW when available, since it gives you more flexibility to adjust highlights and shadows later, but it cannot restore detail that was completely clipped.
| Scene | Starting approach | What to check |
|---|---|---|
| Bright, open snow | Try positive exposure compensation, then adjust | Snow texture and highlight warnings |
| Animal in deep shade | Expose for the animal, accepting some bright snow if needed | Face, eyes and important markings |
| Snow at sunrise or sunset | Use a test frame rather than assuming snow should look neutral white | Warm light, shadows and color cast |
| Mixed sun and shadow | Meter and review as the subject moves | Highlights can clip in one area while another stays dark |
White balance affects how snow appears. Auto white balance may render snow blue in shade or shift between frames as the scene changes. RAW files let you refine white balance later; with JPEG, try a daylight or cloudy preset and review the result. Snow is not always pure white: it can reflect blue sky, warm sunlight or nearby vegetation. Aim for a natural look, not a blank, neutral surface in every condition.
Choose shutter speed and focus for the animal
In winter, low light can tempt you to use a slow shutter speed. That may be fine for a still animal, but even a calm animal moves its head, ears or body. Image stabilization can reduce blur from your own movement, but it does not freeze a moving subject.
Use these as starting points, then adjust for the animal’s movement, lens and light:
- For a perched or resting animal, try around 1/500 second or faster.
- For walking or active movement, try 1/1000 second or faster.
- For birds in flight, 1/2000 second or faster may help freeze wing movement.
If the image is too dark, open the aperture, raise ISO or accept a slower shutter speed when the subject is still. Auto ISO with a minimum shutter speed can be practical, but check that your camera is not choosing a speed that blurs movement. A wider aperture can separate an animal from the background, while a smaller aperture may keep more of a group in focus.
Use continuous autofocus and a small burst of frames for unpredictable movement. Keep the focus point on the animal’s eye when possible. In falling snow, autofocus may lock onto flakes or branches instead; use a single focus area, reposition it carefully, or switch to manual focus if you can do so without losing the moment. Check focus by reviewing a few frames, not just the first image on the screen.
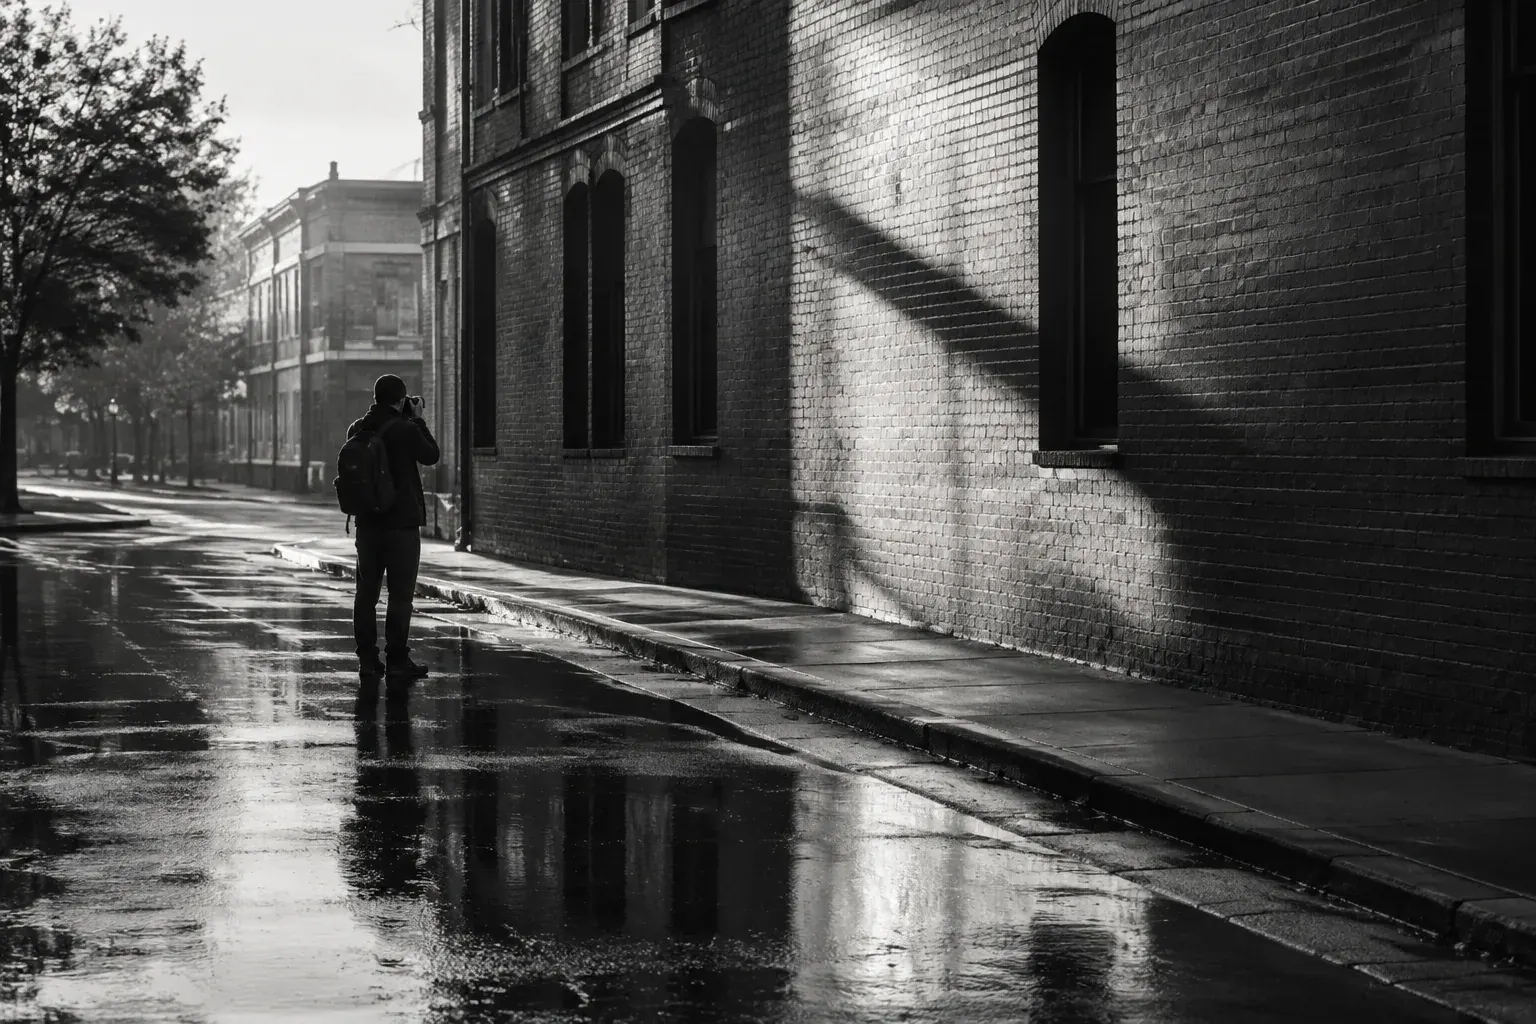
For a different way to emphasize shape and contrast in winter scenes, these black-and-white photography techniques can help you assess tone and texture. Keep color originals if you may want to compare treatments later.
Protect batteries and camera gear from cold and condensation
Cold reduces the amount of usable charge a camera battery can deliver. Keep spare batteries in an inside pocket close to your body, and rotate them as needed. A small hand warmer in a separate pocket can help keep a spare warm, but do not put it directly against a battery or camera. Follow the battery and camera maker’s handling guidance, and never charge a battery that is wet or outside its permitted temperature range.
Snow and moisture can work into buttons, lens mounts and bags. Use a rain cover or a dry bag when snow is falling, and brush loose snow away before it melts. Avoid changing lenses in blowing snow if you can; if you must, shield the camera and work quickly.
Condensation is a bigger risk when cold equipment enters warm, humid air. Before going indoors, put the camera and lens in a sealed plastic bag or dry bag while they are still cold. Let the sealed gear warm gradually, then open the bag after it has reached room temperature. This helps moisture form on the outside of the bag rather than on the equipment. Do not put a cold camera next to a heater or use hot air to speed up the process.
If your lens fogs, wait for it to clear naturally and avoid wiping the glass while moisture or frost is present. Dry damp gear before storing it for a long period, and check your camera manual for temperature limits and care instructions.
Find wildlife by reading the habitat
Animals use winter habitat to find food, shelter and routes between the two. Look for tracks, droppings, feeding signs and well-used paths from a respectful distance. Tracks can help you understand which animals have passed through, but they are not an invitation to follow them. Wind direction, snow depth, temperature and time of day can change where animals are active.
Scan edges and transitions: the boundary between forest and meadow, sheltered shorelines, open water, brush near fields and areas with food or cover. Move slowly, pause often and use binoculars to check a scene before raising a camera. A quiet approach and a longer lens are more useful than trying to get close.
Across the United States, possible winter settings include northern forests, Great Lakes shorelines, Pacific Northwest estuaries, southern wetlands and western mountain or park landscapes. Yellowstone and Grand Teton are well-known examples of western winter wildlife destinations, while refuges and state-managed areas can offer habitat closer to home. Which animals you may see depends on location, weather, access and the season. Verify current roads, closures, permits and wildlife viewing rules before you go.
Plan for a long wait without assuming an animal will appear. Choose a safe place to observe, stay out of roads and travel corridors, and give yourself enough time to get back before dark. If conditions worsen, end the outing rather than risking exposure or getting stranded for a photograph.
Keep winter wildlife photography ethical
Winter can make survival more demanding for animals. Cold, limited food and deep snow may leave less energy for escaping people or repeated disturbance. Your best photograph is not worth causing an animal to flee, abandon feeding or leave shelter.
Stay on designated trails or viewing areas where available. Use a telephoto lens, keep a generous distance and follow posted rules. Required distances vary by species and location, so do not rely on one universal number. If an animal changes what it is doing because of you, you are too close or have stayed too long.
Signs of disturbance can include repeated staring at you, raised alarm calls, tense posture, interrupted feeding, moving away or adults repeatedly returning to a young animal. Back away slowly and quietly, or leave the area. Never block an animal’s route to food, water, shelter or escape.
Do not bait or feed wildlife, use recorded calls to draw animals in, pursue animals for a photograph or use a drone near them. Keep dogs under control and away from wildlife, and respect closures around dens, roosts and nesting areas. Avoid sharing precise locations of sensitive species if that information could draw crowds. Rules may differ on public, tribal and private lands, so follow the land manager’s requirements and ask permission where needed.
Safety note: Dress in layers and protect fingers, toes and ears. If you become numb, confused, unusually clumsy or uncontrollably shivery, stop photographing and get to a warm, safe place. Severe cold exposure can be an emergency.
Common mistakes to avoid
- Trusting the meter in a bright snow scene: Review a test frame and adjust exposure instead of accepting gray snow.
- Using too slow a shutter speed: Stabilization does not stop an animal’s movement. Raise ISO or open the aperture when needed.
- Changing settings only once: Light shifts quickly between open snow, shade and forest cover. Recheck exposure as the scene changes.
- Bringing cold gear straight into warm air: Seal equipment before entering and let it warm gradually to reduce condensation.
- Following tracks to approach an animal: Tracks are signs to observe, not a route to a closer encounter.
- Overlooking your own safety: A good location is not worth unsafe ice, poor visibility, unprepared cold exposure or a difficult return after dark.
The Bottom Line
For winter wildlife photographs, expose snow deliberately, use a shutter speed suited to the animal, and keep spare batteries warm. Protect cold equipment from moisture as it warms, and prepare for the weather as carefully as you prepare your camera.
Look for animals without pursuing them, follow local rules and give them room to feed, rest and travel. Patience, good fieldcraft and respect for wildlife will serve you better than getting closer.
Frequently asked questions
How do I keep snow from looking gray in photos?
Try positive exposure compensation, often around +1 to +2 EV as a starting point, then review the histogram and highlight warnings. Adjust for the light and protect important snow detail from clipping.
What white balance should I use for winter wildlife photography?
If you shoot RAW, Auto White Balance is a reasonable starting point because you can refine it later. For JPEG, try daylight or cloudy white balance and check for blue snow in shade or unwanted color shifts.
How do I stop my camera battery from dying in the cold?
Carry spare batteries in an inside pocket and swap them when the camera’s charge drops. Cold can reduce usable battery life, so keep spares warm and follow the manufacturer’s temperature and charging guidance.
How do I prevent condensation on my camera after shooting in the cold?
Before going indoors, seal the cold camera and lens in a plastic bag or dry bag. Let the equipment warm gradually while sealed, then open the bag once it reaches room temperature.
Is it ethical to photograph wildlife in winter?
Yes, if you keep a respectful distance, follow local rules and stop when your presence changes an animal’s behavior. Do not bait, chase, call in or crowd wildlife, especially when it is feeding, resting or sheltering.