Silk Painting Techniques: Essential Methods for Stunning Fabric Art
Choose the right silk and color system, then use frames, resists and simple wet-on-wet effects to make a scarf that stays beautiful after setting and washing.
Key takeaways
- Choose silk labeled for painting, and test your dye, paint and resist together on a scrap first.
- Silk dyes and silk paints need different fixation methods, so follow the exact product directions.
- A taut frame and compatible resist help keep color inside your design.
- Salt and alcohol create unpredictable textures, so experiment on a sample before painting a finished piece.
- Set, wash and care for the silk according to the dye, paint and resist labels.
In this guide
Silk painting can produce flowing color, crisp outlines or softly blended patterns, but the material and color system you choose affect the whole process. A scarf is a manageable first project, provided you prepare the silk, test your materials and plan how the color will be fixed.
This guide explains the main silk painting techniques, including gutta and water-based resists, salt and alcohol effects, and the difference between dyes and paints. You will also learn how to set up a frame, finish a beginner scarf and care for the fabric without guessing at product instructions.
Choose silk, dye and paint for the result
Start with silk sold for dyeing or painting. Lightweight habotai is a common choice for scarves because it is smooth and takes flowing color well. Crepe de chine has a pebbled texture that softens edges, while charmeuse has a glossy face and a slippery feel that can make it harder to handle.
Check the fiber content, not just the word satin. Satin describes a weave, not a fiber, and satin fabric can be silk or synthetic. Polyester may need different products and fixation methods, so confirm that both the fabric and color medium are compatible.
Before buying, look for a scarf blank or yardage that is 100 percent silk and intended for the process you plan to use. If the fabric has a finish, sizing or protective coating, color may spread unevenly or resist the surface. Prewash only as the fabric and product labels allow, using a mild detergent without fabric softener, then rinse well and let it dry.
Silk dyes versus silk paints
Dyes penetrate and color the fiber. They often produce translucent washes and soft transitions, but they need a fixation process that depends on the particular dye. Some systems use steam; other products may use a different fixative or process.
Silk paints contain pigment and a binder that stays on or near the surface. Many are fixed with an iron, while some are designed to air cure. They can be easier for a first project because they do not always require steaming, but they may feel more like a thin coating than a dye. Read the label before you purchase, and do not assume that a dye and a paint use the same setting method.
| Material | What it does | What to check |
|---|---|---|
| Silk dye | Colors the fiber, often with a translucent look | Required fixation method and whether a separate fixative is needed |
| Silk paint | Leaves pigment and binder on or near the fiber | Whether it must be heat-set, air-cured or treated another way |
| Gutta or other resist | Blocks or limits color movement along a line | Whether it is permanent, removable and compatible with your color medium |
| Water-based resist | Forms a barrier that may be washable or temporary | How it dries and whether it must be removed before or after setting |
Good to know: Keep a small piece of the same silk for tests. A sample lets you check color, spreading, resist lines and the final wash before you commit to a scarf.
Prepare the fabric and frame
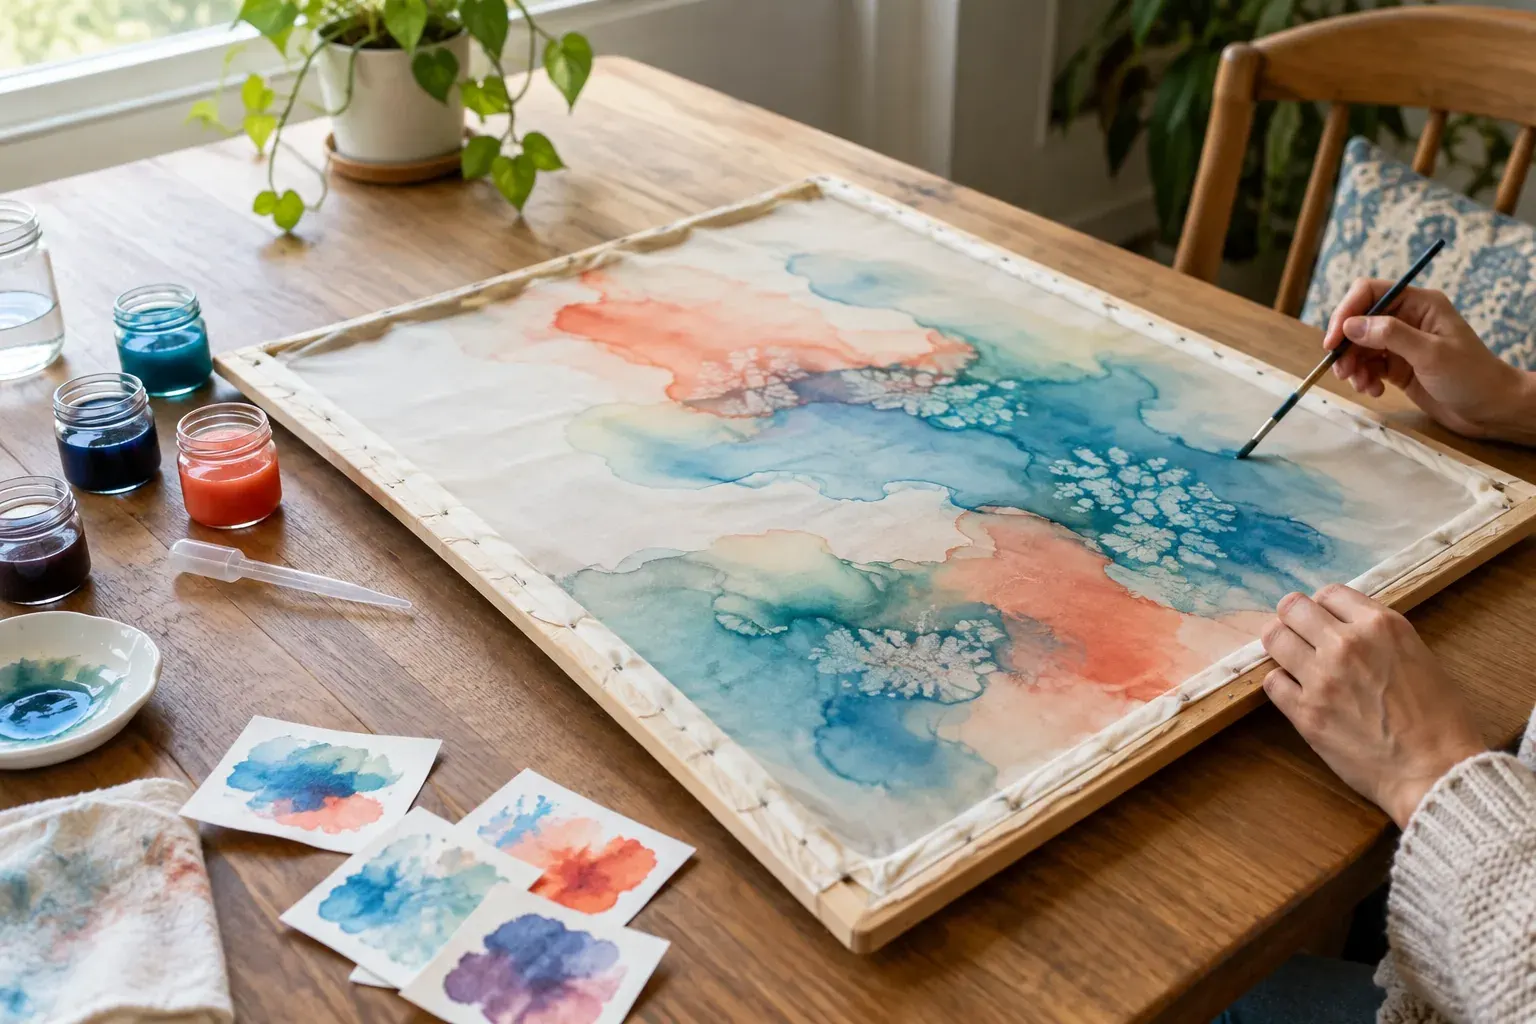
A frame holds the silk flat so a brush does not drag the fabric or transfer color to the work surface. You can use an adjustable silk-painting frame or a clean stretcher frame sized for the piece. Pins, tacks or clips should hold the edges evenly without tearing the silk.
Set the frame on a protected, level work area. Place absorbent paper or a washable drop cloth underneath, but do not let it touch the silk if dye could wick through. Keep water, brushes and color containers within reach, and use separate tools for products that should not be mixed.
Stretch the fabric until it is smooth, not so tight that the weave is distorted. If the silk sags, color can pool; if you pull too hard, the edges may tear or the design may warp. Smooth out creases before applying color, because folds can leave unplanned pale or dark lines.
Before starting, make a quick sketch on paper. Mark the large shapes and any areas you want to leave unpainted. If you are new to painting on fabric, loose shapes and a limited palette are easier to manage than tiny details.
A first scarf project
- Prewash and dry the scarf if its label calls for it. Test the color system and resist on a scrap of matching silk.
- Stretch the scarf on the frame and place your sketch where you can see it without touching the fabric.
- Draw the main outlines with a compatible resist, or paint freehand if you want soft, flowing edges.
- Apply small amounts of color with a soft brush, pipette or sponge. Let adjacent colors meet while wet for blending, or allow one area to dry before adding another for more control.
- Let the piece dry as directed, then use the product’s specified fixation process. Remove or wash out the resist only when its label says to do so.
- Rinse or wash the scarf as directed, dry it gently and inspect it before wearing or gifting it.
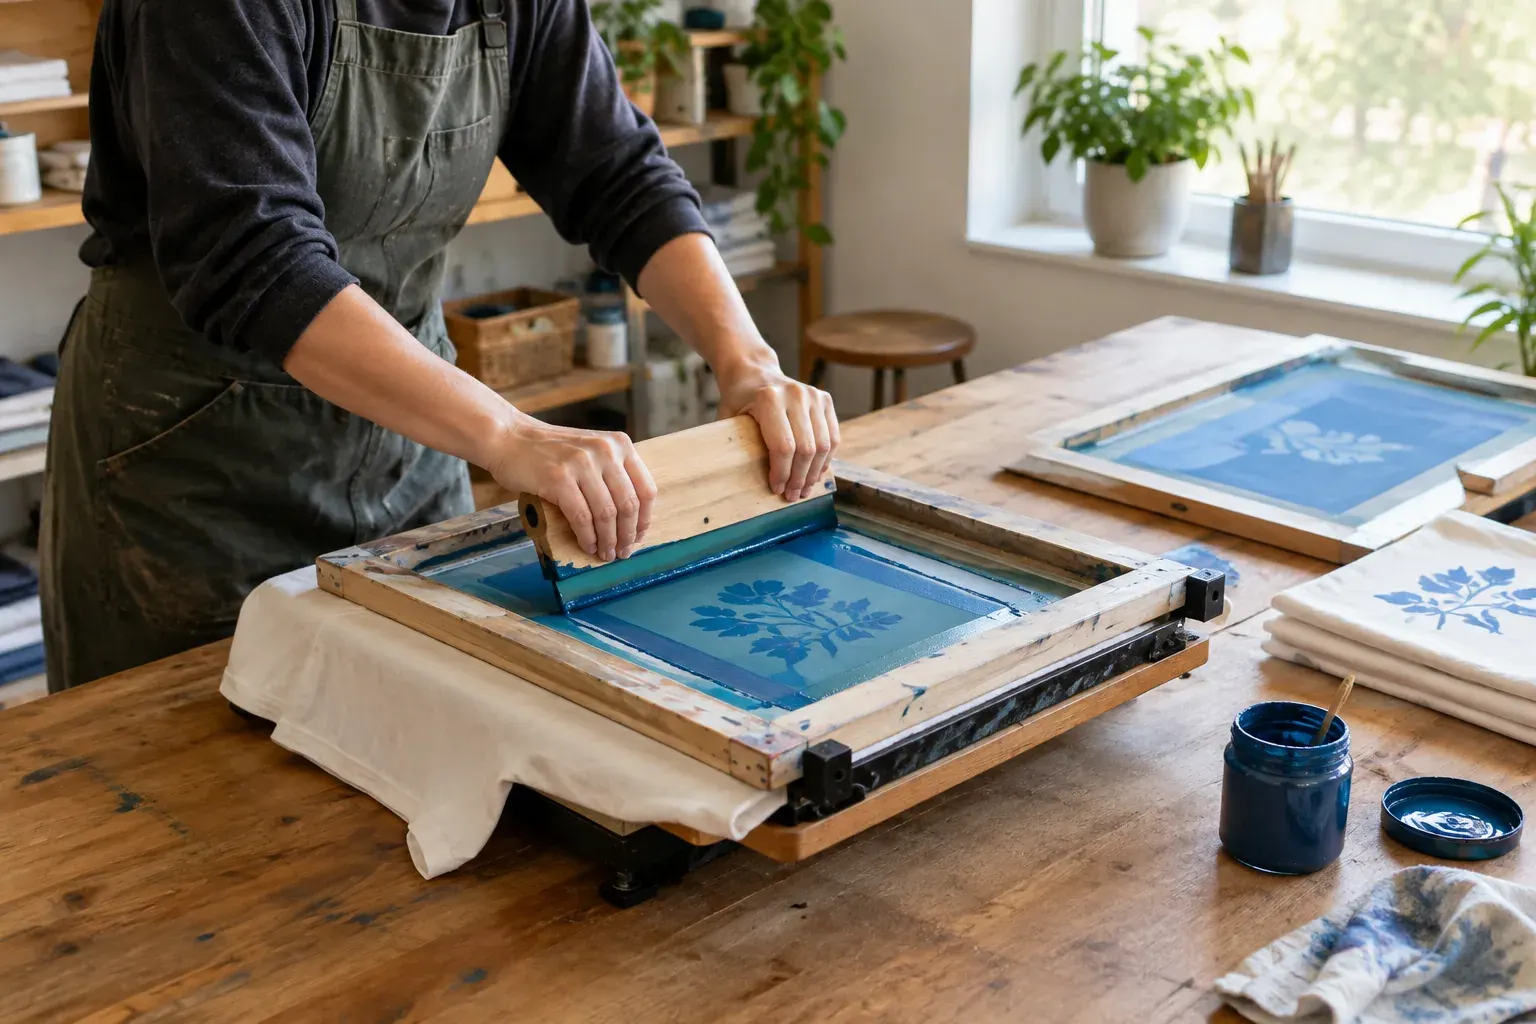
For a first attempt, work in a simple banded pattern, broad leaves or abstract blocks of color. If you want to add repeated motifs later, Screen Printing for Beginners offers a different way to create consistent shapes on fabric.
Use resists to control the design
A resist creates a barrier that slows or stops color from crossing a line. It can help outline petals, geometric areas or a motif you want to keep distinct. However, a resist is not a guarantee of perfectly sealed edges: thin silk, gaps in the line, uneven application or very wet dye can allow color to cross.
Gutta is a traditional type of resist. Commercial gutta products vary: some are solvent-based and intended to remain in the fabric, while other formulas are water-based or removable. Check whether the product is permanent, whether it can be washed out and what type of dye or paint it works with. Do not treat all gutta as the same formula.
Water-based resists are often easier to clean up, but their behavior and removal instructions differ by brand. Some are temporary barriers, and some need a particular drying or washing step. Confirm whether the resist should be removed before or after the color is fixed.
To apply a resist line, practice on scrap silk first. Aim for a steady line with no gaps, and let it dry for the time listed on the product label. Then paint a small test area on one side of the line. If color leaks through, check the line for breaks, apply a more consistent bead on the next test or choose a resist designed for your dye.
Safety note: Some solvent-containing resists and cleanup products are flammable and produce fumes. Follow the label and safety instructions, work with good ventilation, keep them away from flames and heat, and store them out of reach of children and pets.
You can also paint without a resist. Wet-on-wet application lets colors spread into each other for soft edges; painting onto dry silk gives you more control over the shape. For more defined boundaries, let neighboring areas dry before painting beside them, and avoid flooding the fabric with excess liquid.
Create texture with salt and alcohol
Salt and alcohol can make lively patterns, but the results depend on how wet the silk is, how much color is present and how the product behaves. Test first, because the effect is difficult to predict or repeat exactly.
For a salt effect, apply a compatible dye to damp silk, then sprinkle a small amount of salt over the wet area. As the fabric dries, the salt can draw moisture and color into irregular speckles or starburst-like marks. Different salt grain sizes can make different patterns, but too much salt may leave a crowded, blotchy surface.
Wait until the silk is fully dry before brushing away the salt. Do not rub hard, since the fabric can snag. Salt is a texture tool, not a color-setting method; the dye still needs its specified fixation process.
Alcohol can push wet color aside and create pale blooms or rings. With a dropper or clean brush, add a few small drops of rubbing alcohol to a test area of wet dye and observe how it spreads. Use it only if the color product permits it, since alcohol may change the way some paints or binders behave.
Keep alcohol away from flames, hot tools and heat-setting equipment. It is flammable, and the result may vary with the type and wetness of the color. If you want controlled soft gradients instead, try a small brush and clean water on a scrap, or explore wash handling in Learn Watercolor Painting. Silk and paper behave differently, so use the comparison only as a starting point.
Set the color the right way
Fixation helps color resist rinsing and normal use. The correct method is determined by the specific dye, paint and sometimes resist, not by the word silk on the package. Check each label before you begin, and write down the steps if several products are involved.
If the product requires steaming
Use the steaming method and timing specified for that dye. A dedicated textile steamer is preferable to improvising with cookware, especially if the instructions call for a specific setup. Keep the silk from touching water, hot surfaces or condensation that could spot the fabric, and protect yourself from steam burns.
Allow the silk to cool before handling it. If the product requires rinsing or washing after steaming, follow its sequence. Do not skip a required fixative or substitute ironing for steaming unless the manufacturer explicitly says that is acceptable.
If the product requires heat-setting
Some silk paints are set with an iron; others air cure or use a different method. When ironing is specified, follow the directions for temperature, duration and whether the fabric should be ironed from the front or reverse. Use a pressing cloth if the label recommends one, and keep the iron moving to avoid scorching the silk.
Steam-setting dye and heat-setting paint are not interchangeable. If you are unsure which system you have, pause and check the product instructions rather than applying heat as a test. An incorrect setting method can leave the color vulnerable to washing or damage delicate fabric.
Wash, care for and troubleshoot finished silk
Wait until the color is fully fixed and the resist is ready to remove before washing. Use the washing method named on the product label and the scarf’s care label. If handwashing is allowed, use cool or lukewarm water and a small amount of gentle detergent; avoid bleach, fabric softener and vigorous rubbing.
Rinse carefully and watch for color transfer. Some excess color may release during the first rinse, but follow the product directions rather than rinsing indefinitely. Press water out between clean towels without twisting the silk, then air-dry away from direct sun. Iron only if the care label permits it.
If a line blurred or a color ran, note when it happened. Common causes include an incomplete resist line, too much liquid, painting next to a damp area or washing before the dye was fixed. A test swatch can help identify the cause before you repeat the design.
Store a finished scarf clean and dry, away from prolonged sunlight. For an expensive, fragile or heavily embellished piece, ask a professional cleaner about suitable care rather than experimenting with an unfamiliar solvent or wash method.
Common mistakes to avoid
- Choosing fabric by appearance alone: Confirm the fiber content and that the fabric is suitable for the selected color system.
- Skipping the sample: Test the color, resist, fixation and wash together. A test of color alone will not reveal whether the resist will bleed or wash out.
- Mixing products without checking compatibility: A resist made for one dye may not work with another dye or paint.
- Overwetting the silk: Too much liquid can make color spread beyond the intended area and weaken crisp edges.
- Assuming all color needs the same setting method: Read the label for every product, and do not substitute steaming, ironing or air curing.
- Washing too soon: Allow the color to dry and complete the prescribed setting process before washing.
- Treating salt or alcohol as a fixative: These create surface effects only. They do not replace color fixation.
- Using solvent products without precautions: Ventilate the area, follow safety instructions and keep flammable products away from heat and flame.
The Bottom Line
Successful silk painting comes from matching the silk, color medium and resist, then testing the whole process on a scrap. A simple scarf project gives you room to practice smooth application, soft blends and controlled outlines without needing elaborate equipment.
Most importantly, follow the exact directions for setting and washing your chosen products. With a taut frame, careful tests and a little patience, you can make a wearable piece that keeps its color and character.
Frequently asked questions
What type of silk is best for painting?
Lightweight habotai is a common beginner choice because it is smooth and takes flowing color well. Crepe de chine offers more texture, while slippery charmeuse can be harder to control. Check that the fabric is silk and is suitable for your dye or paint.
Should I use silk dye or silk paint?
Choose dye for color that penetrates the fiber and often looks translucent, but be prepared to use the fixation method required by that dye. Silk paint can be simpler for some projects, but its binder may leave a different surface feel. Follow the product label rather than choosing by name alone.
Can I use gutta and water-based resist with any silk paint or dye?
No. Resists differ in formula, permanence and compatibility. Test the exact resist and color together on a scrap, and check whether the resist must be removed before or after color fixation.
How do you set silk paint?
It depends on the product. Some silk paints are heat-set with an iron, while others air cure or require another method, so follow the label's temperature, timing and fabric instructions.
How do you wash a hand-painted silk scarf?
Wait until the color is fully fixed, then use the washing method specified by the paint or dye and the scarf's care label. If handwashing is allowed, use gentle detergent and cool or lukewarm water, avoid twisting, and air-dry away from direct sun.