
How to Deep Clean Your Kitchen: A Step-by-Step Checklist
A good kitchen deep clean is less about scrubbing everything at once and more about doing the jobs in the right order. Use this checklist to clean appliances, surfaces and often-missed spots safely.
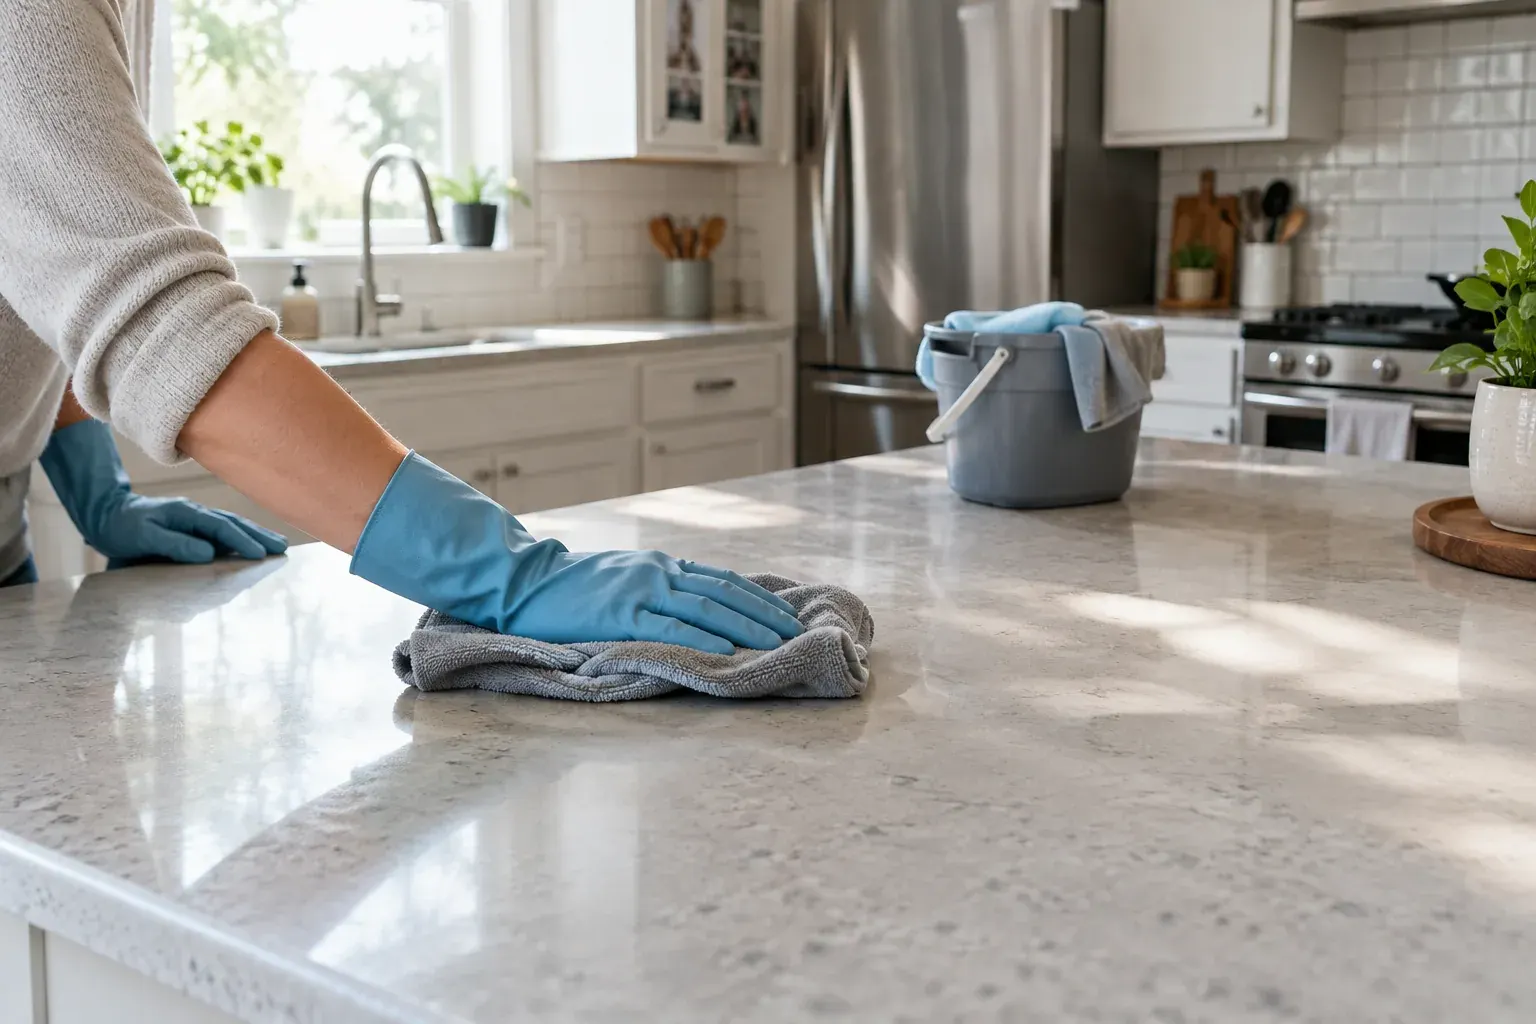
Key takeaways
- Clear food and clutter first, then work from high surfaces down to the floor.
- Check appliance manuals before cleaning interiors, filters, coils or self-cleaning features.
- Never mix bleach with ammonia, vinegar, drain cleaner or another cleaning product.
- Use a surface-appropriate cleaner and test it in an inconspicuous spot before scrubbing.
- Set a regular schedule for quick upkeep, then rotate deeper jobs based on how often you cook.
In this guide
A kitchen can look tidy while grease, crumbs and spills collect behind appliances, inside drawers and around the sink. A deep clean tackles those neglected areas along with the oven, refrigerator, microwave and dishwasher.
Use this guide to work efficiently and avoid damaging finishes or exposing yourself to unsafe product combinations. You can do the whole kitchen in one session or split the checklist over a few days; the order matters more than the pace.
Gather supplies and make the kitchen safe
Before you start, check the care instructions for your appliances, counters and cabinets. Materials vary: a cleaner that works on ceramic tile may damage natural stone, painted wood or a specialty appliance finish.
Gather a manageable set of supplies:
- Dish soap and a general-purpose cleaner labeled for the surfaces you plan to clean
- Microfiber cloths, paper towels, a non-scratch sponge and a soft nylon brush
- A grout brush, if you have tiled surfaces
- A vacuum with a crevice tool, broom and mop
- Gloves, trash bags and a bucket of warm water
- A step stool for reachable high surfaces, if needed
Clear a counter or table to use as a staging area. Put away food, dishes and small appliances, and remove items from the floor so you can move freely. If you need to move a heavy range or refrigerator, do not strain or drag it across the floor; leave that job to someone with the right equipment.
Safety note: Read product labels and use cleaners only as directed. Never mix bleach with ammonia, vinegar, toilet cleaner, drain cleaner or any other product. Ventilate the room, keep children and pets away, and do not spray cleaner directly onto outlets, switches, control panels or other electrical parts.
Unplug small appliances before cleaning them, and make sure they are dry before plugging them in again. For a disposal or any appliance you may reach into, switch it off and follow the manufacturer’s safety instructions. Never put your hand into a garbage disposal.
Follow the right order
Cleaning from the top down keeps dust and dirty water from landing on areas you have already finished. Work from dry tasks to wet tasks, and save the floor for last.
- Remove clutter and food. Toss spoiled items and take out trash and recycling. Put perishables in a cooler with ice while you clean the refrigerator. Avoid leaving perishable food at room temperature for more than 2 hours, or more than 1 hour when the temperature is above 90 degrees Fahrenheit.
- Dust high areas. Wipe the tops of cabinets, light fixtures you can safely reach, vent covers and the range hood exterior. Use a dry cloth or vacuum attachment first so dust does not turn into muddy streaks.
- Clean appliance interiors and cabinet shelves. Do the messiest jobs before wiping counters and cabinet fronts. Set removable parts aside to wash according to their care instructions.
- Wipe walls, backsplash and cabinet fronts. Start at the top and work down. Rinse or change cloths as they collect grease and soil.
- Clean counters, sink and stovetop. Use products compatible with each surface. Finish with the floor, including the edges and the space where crumbs tend to gather.
Pro tip: Work in small zones and keep one clean, damp cloth for rinsing and another dry cloth for finishing. That makes it easier to see residue and prevents you from spreading grease around.
Clean the oven, refrigerator, microwave and dishwasher
Appliances need different methods. Check the owner’s manual before removing racks, filters, shelves or panels, and do not use a harsh cleaner unless the manufacturer says it is safe.
Oven
Remove loose crumbs and take out racks if the manual permits. Wash racks separately with dish soap and warm water, then dry them before putting them back. For the oven interior, use a cleaner approved for that model and surface, following its directions for application, ventilation, wait time and rinsing.
Do not put cleaner on heating elements, vents, door seals or self-cleaning liners unless the instructions specifically allow it. If you use the oven’s self-cleaning cycle, follow the manual, clear items from the surrounding area and ventilate the kitchen. Keep children and pets away while the oven is hot. If a spill is small and fresh, wiping it after the oven has cooled can prevent a harder job later.
Refrigerator
Take out food, shelves and drawers, handling cold glass carefully. Let removable glass come closer to room temperature before washing it; sudden temperature changes can cause some glass to crack. Clean shelves and the interior with warm water and mild dish soap, then rinse and dry thoroughly.
Wipe door seals gently, since rough scrubbing can damage them. Clean the exterior with a product suited to its finish. If your refrigerator has accessible condenser coils, clean them only as directed in the manual, and unplug the appliance first if the instructions call for it. Restock food after the inside is dry. For help deciding what to keep or discard, see How Long Do Leftovers Last?.
Microwave
Remove the turntable and wash it with dish soap. To loosen dried splatters, place a microwave-safe bowl of water inside and heat it until steam forms, then let it sit briefly before opening the door. Open carefully, since steam can burn. Wipe the interior with a damp cloth, clean the door and controls without soaking them, and dry all parts before reassembling.
Never run the microwave empty, and do not spray liquid into vents or openings. If food has burned onto the surface, repeat the steam-softening step rather than scraping with a sharp tool.
Dishwasher
Remove and clean the filter if your model has a user-removable filter. Follow the manual for its location and cleaning method, and use a soft brush to loosen food debris. Wipe the door edges and gasket with a damp cloth, where residue can collect outside the main wash area.
Run a cleaning cycle with a product approved for your dishwasher, if the manufacturer recommends one. Do not use regular dish soap in the machine; it can create excess suds and cause a leak. Avoid adding bleach or vinegar unless the manual specifically says the product and amount are safe for your model.
Clean cabinets, counters, backsplash and grout
Empty one cabinet or drawer at a time so the contents do not take over the whole kitchen. Vacuum crumbs from corners, then wipe shelves with a damp cloth and mild cleaner. Dry the interior before returning items. If you want to sort pantry goods while you work, How to Stock a Budget-Friendly Pantry can help you make a practical keep-and-restock plan.
For cabinet fronts, start with mild dish soap diluted in water and a soft cloth. Grease builds up most around the range and handles, but scrubbing hard can dull paint or damage wood. Wipe with a clean damp cloth and dry promptly. Spot-test an inconspicuous area before using a new product.
Use a cleaner approved for your countertop material. Natural stone, laminate, wood and solid-surface counters do not all tolerate the same products. Do not leave standing water on seams or unsealed surfaces, and avoid abrasive pads unless the surface instructions allow them.
For tile grout, loosen surface soil with a grout-safe cleaner and a soft nylon brush. Test a small area first, and avoid acidic products on natural stone or grout that the manufacturer says is sensitive to acids. Rinse away cleaner as directed and dry the area. If grout is cracked or remains discolored despite cleaning, it may need repair rather than stronger chemicals.
Scrub the sink, disposal and floor
Wash the sink basin with dish soap or a cleaner compatible with its material. Use a soft brush around the faucet base, drain rim and seams, then rinse well. For stainless steel, follow the grain when wiping and avoid steel wool, which can scratch the finish.
Clean the disposal’s rubber splash guard from above with a brush and dish soap, with the disposal switched off. Do not reach into the opening. If you need to remove an object, turn off power at the switch and breaker as appropriate, then use tongs, not your hand. Do not pour chemical drain cleaner into the disposal. If it is jammed, leaking or making unusual noises, follow the manual or contact a qualified repair professional.
Sweep or vacuum the floor, including along cabinet edges and under the toe kick where accessible. Mop with a cleaner suitable for the flooring, using only as much moisture as the material permits. Do not push dirty water into gaps or let it pool near cabinets. Wash or replace the floor mat and let it dry completely before putting it back.
How often to deep-clean kitchen areas
Your schedule depends on how much you cook, whether you have pets or children, and how quickly grease and food debris build up. Use this table as a starting point, then adjust it to your household and appliance instructions.
| Task | Useful starting frequency | What to do |
|---|---|---|
| Counters, sink and visible spills | Daily or after use | Wipe food residue and clean the sink; address stovetop spills once cool. |
| Microwave and range hood exterior | Weekly, or as needed | Remove splatters and grease before they harden. |
| Refrigerator handles and high-touch surfaces | Weekly | Wipe handles and exterior spots; check for spills inside. |
| Refrigerator shelves and drawers | Monthly, or after a leak | Remove parts as directed, wash, rinse and dry. |
| Dishwasher filter and disposal splash guard | Monthly, or per manual | Clean removable parts and inspect for trapped debris. |
| Cabinet fronts, backsplash and floor edges | Monthly | Focus on the areas near the range, sink and trash bin. |
| Oven interior, cabinet interiors and grout | Every few months, or as needed | Clean based on visible buildup and the manufacturer’s guidance. |
| Refrigerator coils and hood filter | Per manufacturer instructions | Check the manual for cleaning method and interval. |
Good to know: A regular quick wipe can reduce how often you need intensive scrubbing. If a household member has asthma, allergies or chemical sensitivities, choose fragrance-free products when possible and follow the label’s ventilation and protective-equipment directions.
Common mistakes to avoid
- Starting with the floor: Dust, crumbs and rinse water will fall onto it. Clean the floor last.
- Mixing products: Bleach and ammonia can produce dangerous fumes, and other combinations can also create hazardous reactions. Use one product at a time, rinse as directed and never combine cleaners in a bucket or spray bottle.
- Using the strongest cleaner by default: Stronger is not always safer or more effective. Match the product to the surface and follow its directions.
- Scrubbing without testing: Abrasive pads and stiff brushes can scratch glass, stainless steel, stone, painted cabinets and appliance finishes. Test first and use the least abrasive method that works.
- Ignoring appliance instructions: Filters, coatings, seals and self-clean cycles differ by model. The manual is the best guide for removable parts and approved cleaners.
- Leaving wet surfaces or food exposed: Dry shelves and counters before restocking, and keep perishable food cold while the refrigerator is being cleaned.
- Reaching into a disposal: A wall switch is not a reason to put your hand near the blades. Turn power off and use tongs, or call a repair professional if the problem persists.
The Bottom Line
A thorough kitchen deep clean is easier when you clear the space, clean high to low, and handle appliances before counters and floors. Use mild, compatible products first, follow appliance manuals, and give cleaners time to work only as their labels direct.
You do not need to deep-clean every part of the kitchen in one day. Keep up with daily spills, put recurring jobs on a simple schedule and adjust the frequency to your kitchen’s use.
Frequently asked questions
How long does it take to deep-clean a kitchen?
The time depends on the kitchen's size, how much buildup there is and whether you clean appliance interiors. Plan several hours for a full session, or split the work into shorter blocks such as appliances one day and cabinets and floors another.
What should I clean first in the kitchen?
Clear clutter and food first, then dust high surfaces and clean appliance interiors and cabinet shelves. Wipe cabinet fronts, backsplash, counters and sink next, and finish with the floor.
Can I use vinegar to clean my kitchen?
Only use vinegar where it is appropriate for the surface and allowed by the appliance manufacturer. It can damage natural stone and may harm some finishes or appliance parts. Never mix it with bleach or another cleaner.
How often should I deep-clean my oven and refrigerator?
Clean spills and food messes as they happen, then do a more thorough clean when buildup appears or on a schedule that fits your cooking habits. Follow the appliance manual for filters, coils, self-cleaning cycles and approved products.
Is it safe to use bleach in the kitchen?
Use bleach only when the product label and surface instructions say it is appropriate, and follow the directions for ventilation and protective equipment. Never mix bleach with ammonia, vinegar, acids, drain cleaner or any other cleaning product.