Restoring Vintage Furniture: Essential Techniques to Transform Your Antiques
Before sanding or stripping a vintage piece, find out what it is and what those changes could cost you. Then choose repairs that fit its value, condition and intended use.
Key takeaways
- Check a piece’s value, maker and original finish before sanding, stripping or repainting.
- Start with gentle dusting and a small hidden-area test before using any cleaner.
- Repair loose joints and veneer with methods suited to the piece and its existing materials.
- Treat paint on pre-1978 furniture as a possible lead hazard, and avoid sanding or heat.
- Get written, itemized estimates before hiring a restorer or conservator.
In this guide
- Assess the piece before you change it
- Prepare the work area and clean gently
- Make simple structural repairs carefully
- Repair veneer and surface damage without sanding it away
- Strip old finishes safely, or decide not to
- Choose a finish that fits the furniture and its use
- Gather tools, compare costs and know when to hire a pro
- Common mistakes to avoid
- The Bottom Line
A worn finish or wobbly leg can make a vintage table, chair or cabinet look ready for a makeover. But refinishing can remove original material and reduce the value of some antiques, so the first step is not picking a stain. It is finding out what you have and what condition it is in.
This guide walks you through a careful assessment, low-risk cleaning, basic repairs, finish choices and safety precautions. You will also learn when a do-it-yourself fix makes sense, when to get a professional opinion, and how to compare restoration costs without guessing at a quote.
Assess the piece before you change it
Age alone does not determine value. The maker, rarity, materials, construction, documented history and condition all matter. An original finish can be more desirable than a fresh, flawless one, even if it has scratches or faded areas.
Before removing hardware, sanding, painting or applying polish:
- Photograph the piece from all sides, including the underside, back, drawers and joints.
- Look for maker’s marks, labels, stamps, handwritten notes and distinctive hardware. Record what you find without scraping or cleaning it off.
- Note visible repairs, missing parts, cracks, veneer loss and signs of insect activity.
- Search for comparable pieces with the same maker and model, but treat asking prices as clues, not proof of value.
- If the piece may be valuable, get an independent appraisal or a conservation assessment before doing anything irreversible.
Ask the professional what kind of opinion you need. An insurance replacement value, fair market value and auction estimate can be different. Look for an appraiser who does not have a financial interest in buying the piece, and ask about fees and qualifications before booking.
Good to know: “Antique” is often used for furniture that is at least 100 years old, but a piece’s age does not by itself establish its value. Vintage furniture can also be valuable, especially when it is rare, well documented or in unusually original condition.
If you plan to keep the piece, decide whether your priority is preserving its original character, making it safe to use, or changing its appearance. Those goals can call for different levels of intervention. A conservator can advise on preservation; a furniture restorer may focus on repair and appearance.
Prepare the work area and clean gently
Move the piece to a dry, ventilated work area with enough room to open doors and drawers. Avoid garages or basements with damp conditions, and protect the floor from dust and drips. If you need to make room for a temporary project area, organizing a small apartment can help you plan where to stage furniture and supplies.
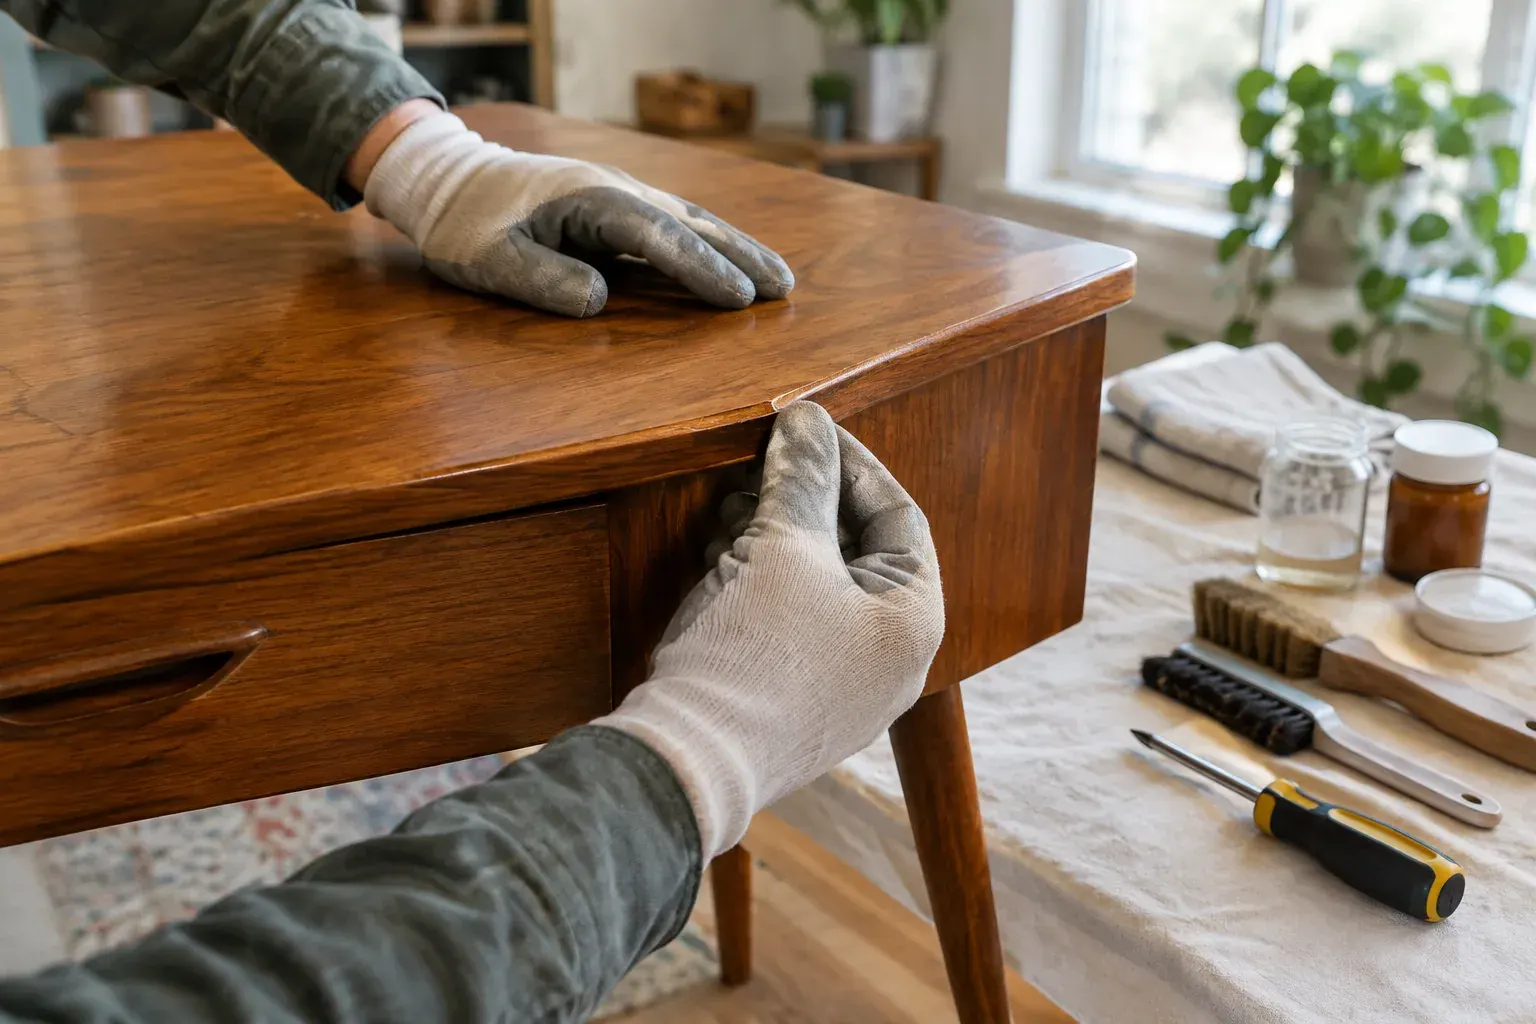
Begin with the least aggressive cleaning method. Remove loose dust with a soft brush or clean microfiber cloth. Work carefully around flaking finish, loose veneer, delicate carving and old labels. A vacuum with a soft brush attachment can help collect dust, but keep it away from fragile edges and loose pieces.
If more cleaning seems necessary, test a small, hidden spot first. Use a barely damp cloth with a small amount of mild soap only if the finish appears stable, then wipe away residue with a separate barely damp cloth and dry the area right away. Do not soak the wood or let moisture sit in joints, cracks or veneer seams.
A cloudy, sticky or uneven surface may be a failing finish, not ordinary grime. Avoid all-purpose sprays, furniture polish, abrasive pads, alcohol and solvents until you know what the finish can tolerate. Some older finishes can be damaged by products that seem mild on newer furniture.
Pro tip: Keep a written record of every product and method you try, including where you tested it. If you bring in a professional later, that information can help them understand what has already changed.
Make simple structural repairs carefully
A chair that rocks or a table with a loose rail may need a joint repair rather than a full refinish. First remove contents, check that the piece stands on a level floor and identify exactly where movement occurs. Photograph the joint before taking anything apart, and keep screws, brackets and hardware labeled by location.
For a loose joint, take the piece apart only if it separates with gentle pressure. Forcing a stuck joint can split the wood or damage a tenon. Remove loose dirt and old adhesive only when you can do so without cutting into original wood or weakening the fit. Dry-fit the parts before adding adhesive, and use clamps with scrap wood or padding to avoid dents.
Adhesive choice depends on the furniture, old glue and intended use. Traditional hide glue can be appropriate for some older pieces, while other situations call for a different product. Avoid injecting modern glue into a joint without checking what is already there; a repair can become harder to reverse and more difficult for a future restorer.
Tighten existing screws gently with the correct screwdriver. If a screw spins in a damaged hole, do not force in a larger screw or drive a nail nearby. That can split the wood or create a visible, weak repair. A professional can assess a damaged screw hole, cracked rail or joint that will not hold.
For furniture that supports a person, such as a chair, bed or step stool, prioritize strength over appearance. Do not use a piece that feels unstable until it has been repaired and checked. If the damage affects a load-bearing part, get help from a qualified furniture repair professional.
Repair veneer and surface damage without sanding it away
Veneer is a thin layer of wood attached to a less decorative base. It can be easy to mistake for solid wood, and aggressive sanding can cut through it quickly. Check edges, corners and the underside for a thin layer or seams before sanding any surface.
A small, lifted veneer edge may be repairable, but the right approach depends on how brittle the veneer is and what adhesive was used. Do not press down loose veneer with a hot iron or flood it with glue. Heat and moisture can damage old finishes, and excess adhesive can stain the surface or make a later repair more difficult.
For small chips, avoid filling the gap with a random wood filler and then sanding the surrounding area. Filler usually will not match the grain or color, and sanding can leave a pale patch. A furniture restorer can match wood and veneer more convincingly, especially on a prominent surface.
Before repairing a scratch, determine whether it is in the finish or in the wood itself. A scratch in the coating may look lighter than the surrounding area; a deeper cut may expose bare wood. Test any touch-up product in an inconspicuous place, and stop if the color or sheen shifts noticeably.
Strip old finishes safely, or decide not to
Stripping is often the most destructive part of a makeover. It can remove original finish, soften details, damage veneer and erase signs of age that help establish a piece’s history. If the furniture may have significant value, get professional advice before stripping it.
If you have decided to refinish a low-value piece, first identify the existing finish as well as you can. Different coatings respond differently to cleaners, solvents and strippers. Follow the product label and safety data, use the specified protective equipment, and work with the ventilation the product requires. Keep children and pets out of the work area.
Avoid power sanding on thin veneer, carved details and edges. Do not use a heat gun on painted furniture of uncertain age. Sanding, scraping and heating old paint can spread hazardous dust or fumes.
Take special care with pre-1978 paint
Paint on furniture made or repainted before 1978 may contain lead. The date is a warning sign, not proof that lead is present. Do not dry-sand, power-sand, scrape or heat suspected paint. Keep children and pregnant people away from the work area, and avoid carrying dust on shoes or clothing into living spaces.
Consumer test kits may not give a dependable answer for every paint layer. If you need to know, consult a qualified lead testing professional or a laboratory. If paid work will disturb painted surfaces in a pre-1978 home, ask whether the contractor is an EPA Lead-Safe Certified firm. Rules for a movable furniture item can differ from rules for renovation work on a home, so check applicable federal, state and local requirements before starting. Follow local guidance for cleanup and disposal of paint debris.
Safety note: If you suspect lead, pause the project. Do not use a household vacuum or dry sweeping to clean suspected lead dust. Get guidance from a qualified lead professional on safe testing, containment and cleanup.
Choose a finish that fits the furniture and its use
A new finish should suit the wood, existing coating, expected wear and the look you want. No single finish is right for every piece. Make a test board or use an inconspicuous area before committing to a color or sheen.
| Finish option | What to consider | Often suited to |
|---|---|---|
| Keep and clean the existing finish | Preserves original material, but may not hide worn or damaged areas | Valuable or historically interesting furniture |
| Wax | Can give a soft sheen, but may need upkeep and can complicate later refinishing | Decorative pieces with light use |
| Oil finish | Highlights wood grain; protection and maintenance depend on the product | Some bare-wood surfaces and low-wear uses |
| Varnish or polyurethane | Forms a more protective coating, but can look thicker and may be difficult to remove | Tables and other surfaces that see regular use |
| Paint | Changes the appearance and hides the grain; can cover details and original surfaces | Pieces with little resale value or a sound, previously painted surface |
Check product directions for surface preparation, ventilation, application, drying and full cure time. “Dry to the touch” does not always mean ready for regular use. Keep the item out of service until the manufacturer’s instructions say the coating has cured enough for its intended use.
Do not use stain to try to conceal scratches or uneven color. Stain changes the color of exposed wood, but it does not fill damage or make different wood species match. If you cannot identify the wood or existing finish, test first or ask a restorer to recommend a compatible system.
Gather tools, compare costs and know when to hire a pro
For basic inspection and light work, you may need a flashlight, camera, soft brush, microfiber cloths, screwdriver set, padded clamps and protective floor covering. More involved jobs may require products and protective equipment specific to the finish or repair. Buy or rent specialty tools only after you know the project scope and safety requirements.
Costs depend on the piece, the damage, the finish and labor rates in your area. Rather than relying on a generic price, request a written estimate that describes the work and materials. The table below can help you compare the likely scale of a project.
| Project scope | Main cost drivers | Planning level |
|---|---|---|
| Dusting and careful surface cleaning | Cleaning supplies and time | Lowest, if the finish is stable |
| Minor hardware or simple joint work | Adhesive or replacement hardware, clamps and labor | Low to moderate, depending on access and damage |
| Veneer, carving or structural repair | Matching materials, specialized skill and repair time | Moderate to high |
| Full stripping and refinishing | Stripper or sanding supplies, protective equipment, disposal and labor | High, especially when details or veneer are involved |
| Conservation of a valuable or fragile piece | Assessment, documentation and specialized treatment | Quote required; preservation may not include cosmetic changes |
A professional estimate should say what will be preserved, repaired, replaced or removed. Ask whether the work includes pickup and delivery, hardware, finish samples, lead-safe procedures if relevant, and a plan for unexpected damage. Compare the proposed methods, not just the total. A low estimate may leave out essential repairs or use a finish that does not fit your goal.
Hire a conservator or experienced furniture restorer when the piece may be valuable, has complex veneer or marquetry, contains fragile finishes, or needs structural repairs. Get professional help if you find suspected active wood-boring insects, extensive mold, severe water damage or possible lead paint. If a leak or damp area contributed to the damage, fix the source before bringing restored furniture back; the fall home maintenance checklist can help you look for seasonal home problems.
Common mistakes to avoid
- Refinishing before checking value: Ask for an independent assessment before removing original finish or paint.
- Assuming solid wood: Inspect edges and undersides for veneer before sanding, drilling or cutting.
- Using too much water: Moisture can swell wood, lift veneer and loosen joints.
- Mixing products without testing: Cleaners, strippers and finishes can react unpredictably with old coatings.
- Making a repair permanent by accident: Identify existing glue and test-fit parts before adding adhesive.
- Treating suspected lead paint like ordinary paint: Stop work and seek qualified testing and safe-handling guidance.
- Ignoring stability: Do not use a wobbly chair or table until the structural problem is repaired.
- Starting without a stopping point: If a test patch changes the finish, reveals unexpected layers or exposes damage, pause and reassess rather than escalating to more aggressive methods.
The Bottom Line
The safest restoration starts with observation, not sanding. Document the piece, check whether its maker or condition could make it valuable, and use the gentlest cleaning and repair methods that meet your goal.
For valuable, fragile or structurally damaged furniture, a qualified professional can help protect what makes the piece worth keeping. If you do the work yourself, test first, follow product safety instructions and treat pre-1978 paint as a possible lead hazard.
Frequently asked questions
Does refinishing antique furniture reduce its value?
It can. Removing an original finish, paint or other original material may reduce value, especially on rare or historically significant pieces. Get an independent appraisal or conservation opinion before refinishing furniture that may be valuable.
How do I clean vintage wood furniture without damaging it?
Start with a soft brush or dry microfiber cloth, then test any additional cleaner in a hidden spot. Use very little moisture, dry the area promptly and avoid sprays, abrasives or solvents unless you know they are compatible with the finish.
Could old furniture paint contain lead?
Yes. Paint on furniture made or repainted before 1978 may contain lead, though testing is needed to confirm it. Do not sand, scrape or heat suspected paint, and consult a qualified lead testing professional about safe next steps.
Can I repair loose veneer myself?
A minor repair may be possible, but the right method depends on the veneer, its condition and the original adhesive. Avoid forcing glue or heat under a loose area; a professional is a better choice for prominent, brittle or extensive veneer damage.
When should I hire a furniture restorer?
Get professional advice before changing a potentially valuable piece, and hire help for extensive veneer loss, fragile finishes, serious structural damage or suspected lead paint. Request a written estimate that explains the proposed methods and what original material will be preserved.