Ebony Wood Carving Techniques: From Roughing Out to a Mirror Finish
Ebony rewards careful, sharp work, but its density and dark surface can hide problems until they are hard to fix. Use this guide to plan each cut, prevent cracks and finish with control.
Key takeaways
- Identify the wood and inspect for checks before carving. Ebony is a name for several species with different grain and working properties.
- Use very sharp tools, secure the blank and control fine dust with extraction and respiratory protection.
- Read the grain with raking light and small test cuts, then work from broad forms toward delicate details.
- Keep the wood in stable humidity and temperature to reduce movement and cracking.
- Sand in stages and choose a finish for the result you want: oil and wax give a warm sheen, while a built film finish is better for mirror-like gloss.
In this guide
Ebony is dense, dark and often finely grained, which makes it appealing for small sculptures, handles and decorative details. It also asks more of your tools and technique than many common carving woods. A dull edge, a grain reversal or a rushed drying change can spoil work that took hours to shape.
This guide covers the whole process, from choosing a sound blank and reading its grain to roughing out, detailing, humidity control, sanding and buffing. The goal is a clean, durable surface, not a shortcut that hides problems until the finish goes on.
Know the wood before you cut
Ebony is not one uniform material. The name applies to multiple species, and pieces can differ in density, color, pore structure and workability. Some stock sold as ebony may have pale sapwood, streaks or a different botanical identity than you expect.
Ask the seller for the botanical name, origin and any applicable trade documentation. Some ebony species and products are subject to international trade controls, and requirements can depend on the species and product form. Before buying or importing, check current guidance from the US Fish and Wildlife Service. If the source or species is unclear, choose a documented supplier or a suitable alternative wood.
Inspect the blank under bright, angled light. Look for end checks, hairline cracks, knots, inclusions and grain that runs out of the intended shape. A small crack can open as you carve or as the piece adjusts to its surroundings. Dark color can make defects difficult to see, so use a magnifier and examine both ends and edges.
Plan the finished piece before removing material. Draw the main views, mark the grain direction and identify the thinnest or most fragile areas. For another overview of carving with ebony, see tips for learning ebony sculpture.
Good to know: Ebony is hard, but hardness does not make it immune to splitting. Thin projections, sharp inside corners and grain that exits the surface are vulnerable, even when the blank feels solid.
Set up sharp tools and a safe workspace
A keen edge matters more with dense wood because a dull tool encourages extra force. That force increases the chance of a slip, a chipped edge or a split along the grain. Sharpen before you start, and touch up the edge as soon as it begins to drag or crush fibers.
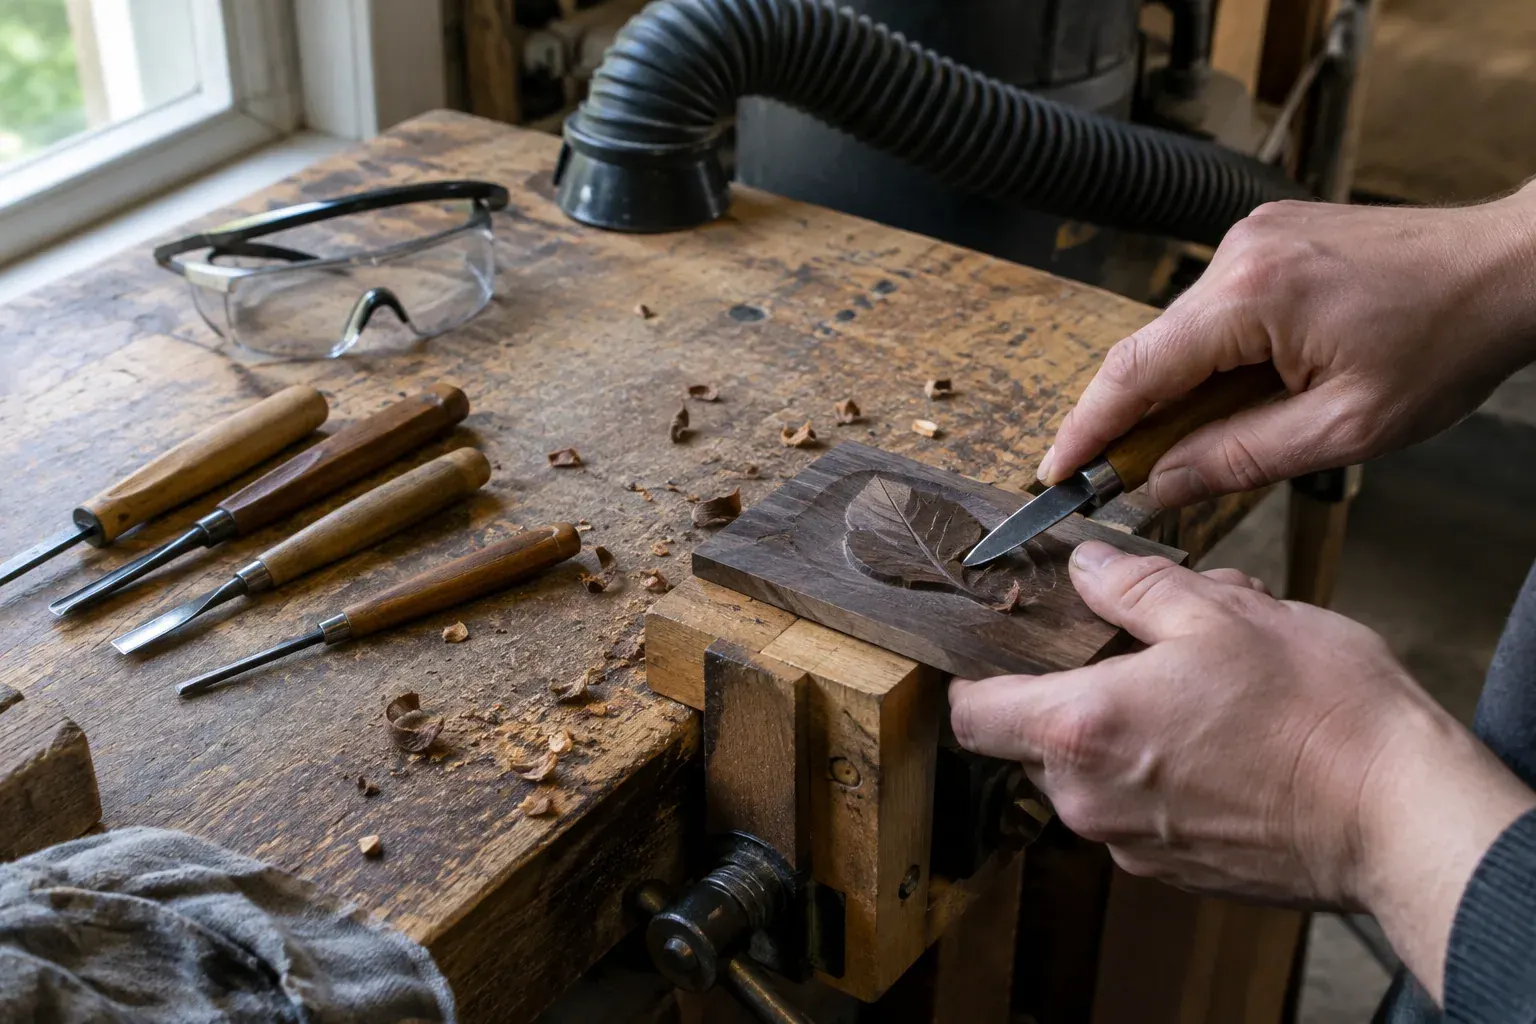
For hand carving, useful tools include a carving knife, a few chisels and gouges in sizes that match your design, and a mallet for heavier cuts. Keep the bevels consistent with the tool maker’s guidance. Hone on a suitable stone or abrasive, then strop if that is part of your sharpening method. Check the edge in good light and make a controlled test cut on scrap.
| Tool approach | Useful for | Trade-offs and precautions |
|---|---|---|
| Hand tools | Controlled cuts, corners, small details and quiet work | Slower in dense stock, so sharp edges and a secure grip are essential |
| Rotary tool with suitable burrs | Removing small amounts in hollows and rounded forms | Can heat, burn or grab; use light passes, a steady grip and dust extraction |
| Saw or other stationary power tool | Establishing the outline and removing bulk before hand carving | Requires secure workholding, guards and the correct blade; do not force the cut |
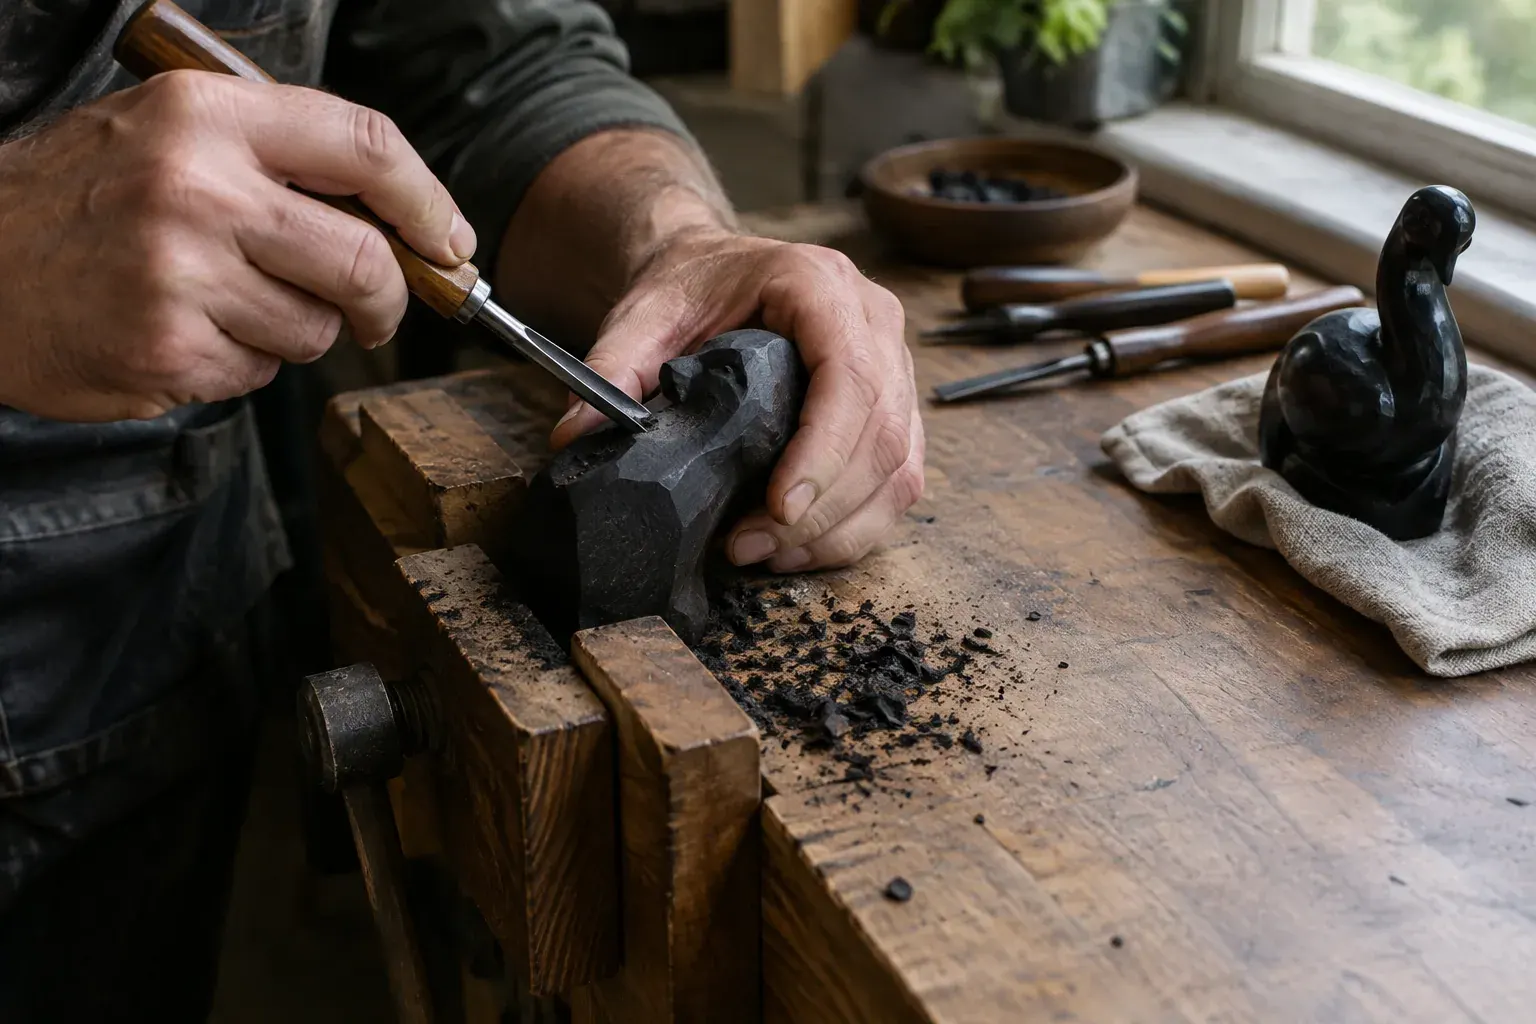
Clamp the blank in a vise with protective jaws or secure it to a carving board. Keep your hands behind the cutting edge and direct cuts away from your body. If the piece is too small to hold securely, change the setup rather than trying to stabilize it with your fingers.
Ebony dust can irritate the skin and respiratory system, and some people may develop sensitivity. Use local dust collection, eye protection and a properly fitted NIOSH-approved respirator when dust may become airborne. Avoid blowing dust around with compressed air. Clean with a vacuum suited to fine dust and follow its instructions.
Safety note: Use power tools with their guards in place, and keep the work secured. If you feel a tool catching or heating the wood, stop, unplug it before adjusting, and check the bit, speed and setup.
Read the grain before every cut
Grain direction changes across a carving. A cut that behaves well on one face may tear out on a curve, near a knot or where the grain turns. Ebony’s dark surface can make those changes hard to see, so use several clues instead of relying on color alone.
Look for lines, pores and changes in sheen under raking light. Turn the piece and inspect the end grain, which can help show how fibers run through the stock. If the direction remains uncertain, make a shallow test cut on an area that will be removed. A clean shaving suggests a favorable direction; a rough, lifting edge is a signal to reverse the cut or take a thinner shaving.
On a curved form, there may be no single direction that works everywhere. Work toward the center from each side, or divide the cut into short sections. Keep cuts shallow near projecting details and along edges where the grain could break out. Stop if the tool starts to dive or the surface turns fuzzy.
Mark the grain direction on your sketch or directly on a hidden part of the blank. Recheck it as the form changes. This small pause can prevent a long tear-out that would be difficult to repair on a dark surface.
Rough out the form, then refine it
Roughing out means removing excess stock while preserving enough material for correction. Saw outside the layout lines, leaving a small margin rather than cutting exactly to the final contour. Establish the largest shapes first, then reduce the blank in stages. Compare the work with your drawing from more than one angle before moving to detail.
A practical sequence is:
- Mark the front, sides and important reference points on the blank.
- Remove large waste areas with a saw or broad carving cuts, keeping the work securely clamped.
- Establish the main planes and silhouette with a gouge or chisel suited to the area.
- Refine the transitions and check proportions from several views.
- Leave extra support around fragile edges and projections until the surrounding form is stable.
With hand tools, take controlled cuts and let a sharp edge do the work. With a rotary tool, use a suitable burr and make several light passes instead of forcing one deep cut. Dense wood can heat quickly under friction. Pause if the surface smells scorched, feels hot or changes color, and let the tool and work cool.
Move to details only after the overall shape reads clearly. Use smaller tools for incisions, edges and transitions, and support delicate areas from behind when possible. A magnifier and raking light help reveal uneven cuts, but avoid chasing every mark with a tool if sanding can remove it safely.
For further ideas on choosing a carving approach, the related guide to learning ebony sculpture offers another starting point. If your project is part of a furniture repair, restoring vintage furniture covers broader restoration decisions.
Control humidity and prevent cracks
Wood responds to changes in moisture and temperature, including dense carving stock. A blank that moves quickly from a cool or damp storage area into a heated, dry room may develop checks or open existing ones. Do not assume that a dense piece is stable simply because it is heavy.
Let the blank adjust gradually in the room or shop where you plan to work. Keep it away from direct sun, heating vents, radiators and damp floors. If you have a moisture meter, use it as one indicator and make sure its settings are appropriate for the wood; a reading is not a guarantee that a piece is free of internal stress.
Keep the finished carving in a reasonably stable indoor environment. In very dry winter conditions, a room humidifier may help stabilize the room, but avoid placing the carving where condensation or direct humidifier mist can reach it. In humid climates, good air circulation and avoiding damp storage matter more. Regional conditions vary, so aim for gradual, consistent conditions rather than one universal humidity number.
If you find a crack, stop carving and assess whether it is superficial or structural. Do not simply flood it with finish. For a valuable or load-bearing object, consult an experienced woodworker or conservator before attempting a repair.
Sand progressively and choose the finish
Sanding removes tool marks, but it can also blur crisp details and round edges. Start with the least aggressive abrasive that will remove the marks you actually have. A common progression for a small carving is 120 or 150 grit, then 180, 220, 320 and, if needed, 400. Skip grits only when the previous scratches are already gone; the right stopping point depends on the wood and finish.
Use small sanding pads, folded paper or shaped backing to reach curves without flattening them. Sand with the grain where the form permits, and use a raking light to find scratches before moving to the next grit. Remove dust between grits with a clean, dry brush or vacuum. Dark sanding dust can lodge in recesses and make a pale area look stained, so test your cleanup method in a hidden spot.
Before finishing, inspect the carving and test the full finish schedule on a scrap from the same blank if available. Finishes can deepen color, emphasize scratches or leave wax in tiny details. The choice depends on whether you want a natural sheen or a highly reflective surface.
| Finish choice | Typical appearance | Practical points |
|---|---|---|
| Drying oil, used as directed | Warm, low to moderate sheen | Apply thin coats and allow the product to cure according to its label |
| Paste wax over a compatible surface | Smooth, soft sheen | Buffs easily but offers limited protection and may need renewal |
| Built film finish, then polished | Higher gloss, potentially mirror-like | Requires thin, even coats, full curing and careful polishing; test compatibility first |
Oil followed by wax is a traditional route for a warm, tactile surface. Apply only a thin coat of an appropriate finish, wipe off excess as directed and let it cure fully before adding wax. Wax alone can buff to a pleasing gloss, but it usually will not provide the depth or durability of a built film finish. For a true mirror-like reflection, a compatible film finish that can be polished is generally a better choice than oil and wax alone.
Buff only after the finish has cured according to the product label. Use a clean soft cloth for wax, or suitable polishing materials for a film finish, and work carefully around edges and carved details. Excessive pressure or machine buffing can generate heat, soften a finish or round sharp features. For additional restoration context, see vintage furniture restoration techniques.
Safety note: Some oil-soaked rags can heat up and ignite as they dry. Follow the finish maker’s disposal directions. Keep used rags away from buildings and other combustibles, and do not leave a pile of them in a trash can.
Common mistakes to avoid
- Forcing a dull tool: Stop and sharpen instead of leaning harder on the cut.
- Assuming the grain runs one way: Check each face and make test cuts where the grain changes.
- Removing too much during roughing: Leave a margin and work from large forms to small details.
- Using power tools without dust control: Fine wood dust can become airborne and irritate you. Collect it at the source and wear appropriate protection.
- Sanding through the details: Use shaped backing and stop when the tool marks are gone, not when every feature has been softened.
- Rushing the finish: Oil, wax and film finishes need the time specified by the manufacturer. Buffing too soon can make the surface cloudy or uneven.
- Ignoring a crack or unstable environment: Inspect the blank, acclimate it gradually and stop if a defect begins to grow.
- Treating wax as a durable mirror finish: Wax can add sheen, but a polished film finish is usually the better route when you need a deep, lasting gloss.
The Bottom Line
A successful ebony carving starts with a sound, documented blank and sharp tools. Read the grain in changing light, secure the work, remove material in stages and keep the wood away from abrupt changes in temperature and humidity.
Sand only as much as the form needs, then choose a finish that matches your goal. Oil and wax can give ebony a handsome, touchable sheen; a carefully built and polished film finish is the more reliable path to a mirror-like gloss.
Frequently asked questions
Is ebony difficult to carve?
Ebony can be challenging because it is dense and quickly exposes dull tools or poor workholding. Sharp edges, shallow cuts and a secure blank make the process more controlled.
What tools are best for carving ebony?
A sharp carving knife, chisels and gouges work well for controlled hand carving. A rotary tool or saw can remove bulk, but use suitable cutters, secure the work and control dust.
How do I keep ebony from cracking?
Start with a sound blank, let it adjust gradually to your work area and avoid direct heat, sun and sudden humidity changes. Stop and assess any crack that grows during carving.
What grit should I use to sand ebony?
A typical progression is 120 or 150, 180, 220, 320 and, when needed, 400 grit. Begin with the least aggressive grit that removes the tool marks, and check for scratches before moving up.
Can oil and wax give ebony a mirror finish?
Oil and wax can produce a smooth, attractive sheen, but wax alone usually does not create a deep, durable mirror-like gloss. For that effect, use a compatible film finish, let it cure fully and polish it carefully.