Learning Ebony Sculpture: Tips for Carving Exotic Hardwood
Ebony’s density and beauty reward careful carving, but the wood calls for extra planning. Learn how to source it responsibly, work more safely, and build skills on practice woods first.
Key takeaways
- Ebony is dense, hard and often costly, so start with a small, dry, traceable offcut rather than a large blank.
- Ask for the wood’s scientific name and country of harvest, and check current CITES and US import rules for regulated species.
- Control dust at the source and wear a well-fitting, NIOSH-approved particulate respirator when carving or sanding.
- Practice knife control on basswood, then move to cherry or hard maple before working ebony.
- Use sharp tools, secure the work, and take shallow cuts with the grain to reduce splitting and tool slips.
In this guide
Ebony can be an appealing choice for a small sculpture: its fine texture, weight and dark heartwood make even a simple shape feel distinctive. But the name covers several woods, and a beautiful piece is not automatically easy to carve or responsibly sourced.
This beginner guide explains what to expect from ebony, how to ask informed sourcing questions, and how to manage dust and tools. You will also find a low-risk first-project plan and a practice sequence that helps you learn before committing to a valuable blank.
What Makes Ebony Different?
“Ebony” is a common name for several tropical hardwoods in the genus Diospyros. The wood’s appearance varies by species and piece. Some heartwood is nearly black, while other ebony has brown, gray or streaked coloring; pale sapwood may be present too.
Many ebony species are dense and hard, with a fine texture that can take a smooth finish. That density can make carving slow, and hard wood can blunt an edge faster than a beginner expects. Some pieces also have grain that changes direction, which can cause a cut to tear or split instead of producing a clean shaving.
Ebony is not a single uniform material. The species, growing conditions, drying and cut of the blank all affect how it behaves. Ask the seller what species it is rather than assuming that a dark block is a particular kind of ebony.
Good to know: A very dark finish does not prove a piece is ebony. Color can vary naturally, and other woods can be stained. For a beginner, clear identification and legal sourcing matter more than a perfectly black appearance.
Buy Ebony Responsibly and Legally
Tropical hardwood trade can involve restrictions, and a seller’s location in the United States does not by itself establish that wood was harvested or imported legally. The federal Lacey Act prohibits trade in plants, including wood, that were taken, possessed, transported or sold in violation of applicable laws. It also requires declarations for certain imported plant products, though the requirements depend on the product and shipment.
Some species are also covered by the Convention on International Trade in Endangered Species of Wild Fauna and Flora, commonly called CITES. For example, Madagascar’s Diospyros species are subject to CITES Appendix II controls with annotations that affect which specimens and products are covered. Rules vary by species and form of wood, so do not assume that all ebony has the same status.
Before buying, ask the seller for:
- The scientific name, not just a trade name such as “ebony” or “blackwood.”
- The country where the tree was harvested, and whether the stock is new, reclaimed or salvaged.
- Any available documentation showing lawful harvest and import, especially for protected or regulated species.
- A clear description of the piece, including sapwood, cracks, checks and moisture condition.
For imported wood or a species that may be regulated, confirm current requirements with the US Fish and Wildlife Service, USDA Animal and Plant Health Inspection Service, or a qualified customs professional before purchasing or transporting it. CITES rules and product annotations can be technical, and the seller’s assurance is not a substitute for documentation. This is general information, not legal advice.
Choose a small, traceable offcut from a specialist wood supplier rather than buying a large quantity for a first project. Salvaged wood can be a good option when its history is known, but inspect it for nails, grit, old coatings and other contamination before cutting. If the source or species cannot be established, choose a readily available practice wood instead.
Set Up a Dust-Safe Work Area
Wood dust is a health hazard, not just a housekeeping nuisance. Ebony dust can irritate the eyes, skin and respiratory system, and some people may develop stronger reactions. Sanding and powered cutting can create fine dust that remains airborne after the visible chips have settled.
Use a well-fitting, NIOSH-approved particulate respirator, commonly an N95 or better, and follow the manufacturer’s instructions. A respirator works best as part of a plan: collect dust close to the tool with suitable extraction, ventilate the room, and keep other people and pets away from the work area. If you have asthma, a respiratory condition or symptoms after exposure, stop working and ask a health professional for advice.
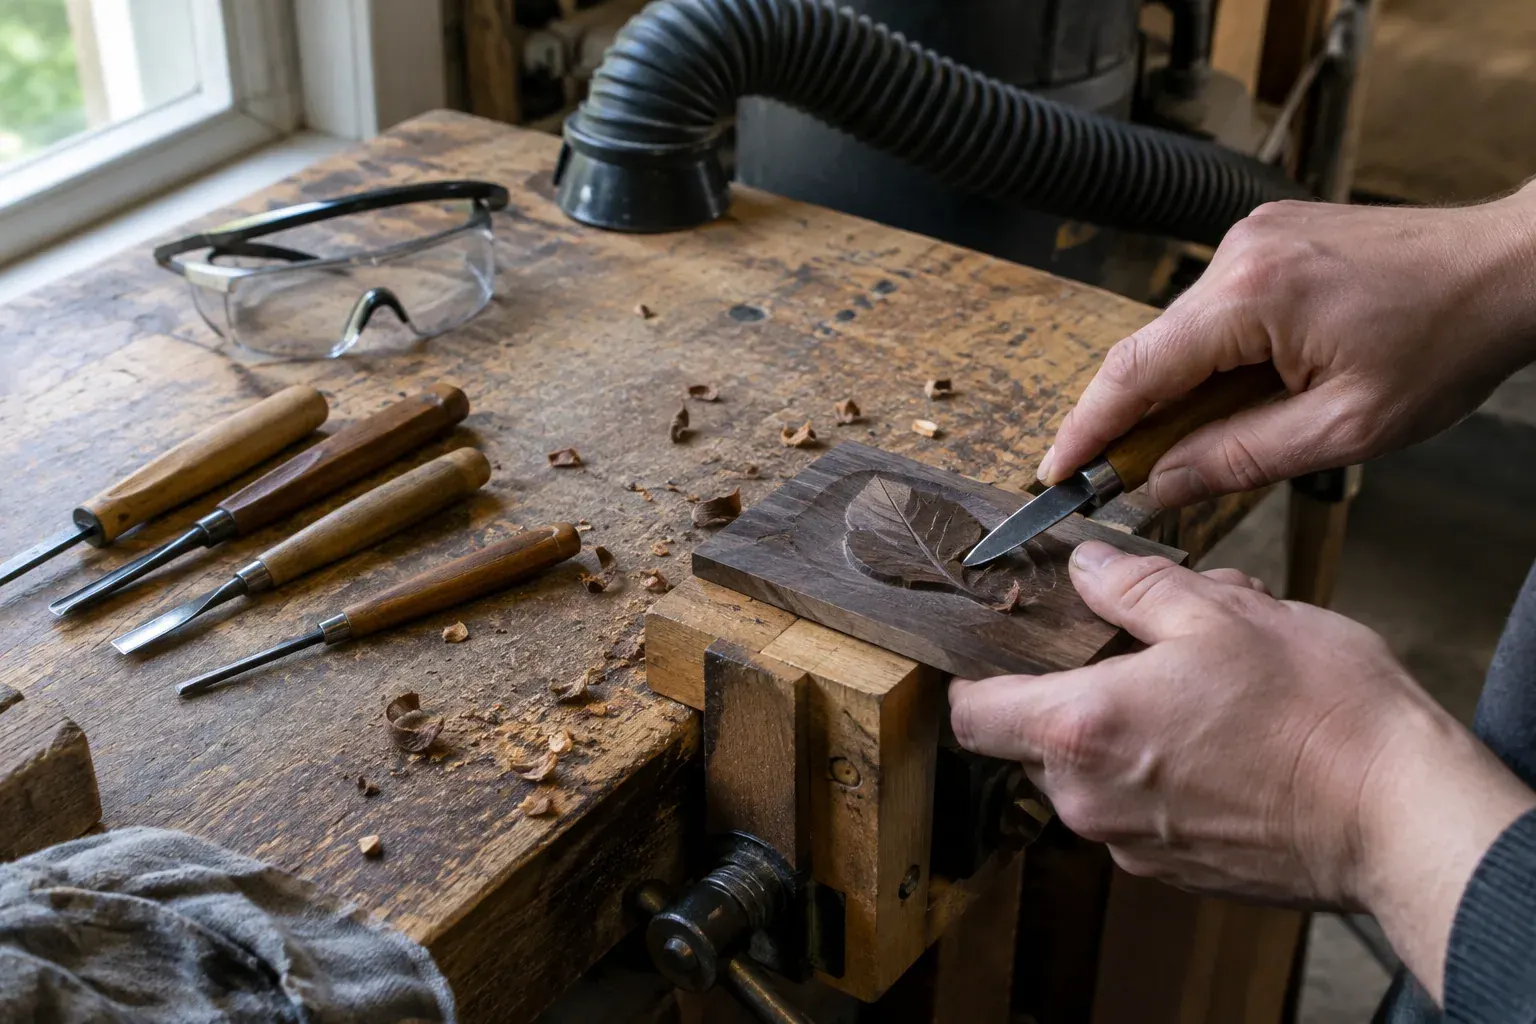
Wear safety glasses when carving, sawing or sanding. Keep the work secured in a vise or carving clamp, and cut away from your body and supporting hand. Do not wear gloves around rotating machinery, where they can catch; use guards and follow the tool maker’s instructions for any powered equipment.
Afterward, clean with a HEPA-filtered vacuum or a damp disposable cloth. Do not blow dust away with compressed air or dry-sweep it across the room. Store offcuts and dusty waste in a closed container, and wash your hands before eating or touching your face.
Safety note: If you develop coughing, wheezing, rash or eye irritation, leave the dusty area and get medical advice if symptoms persist or are severe. Do not keep working to see if the reaction goes away.
Choose Beginner Tools and Prepare the Blank
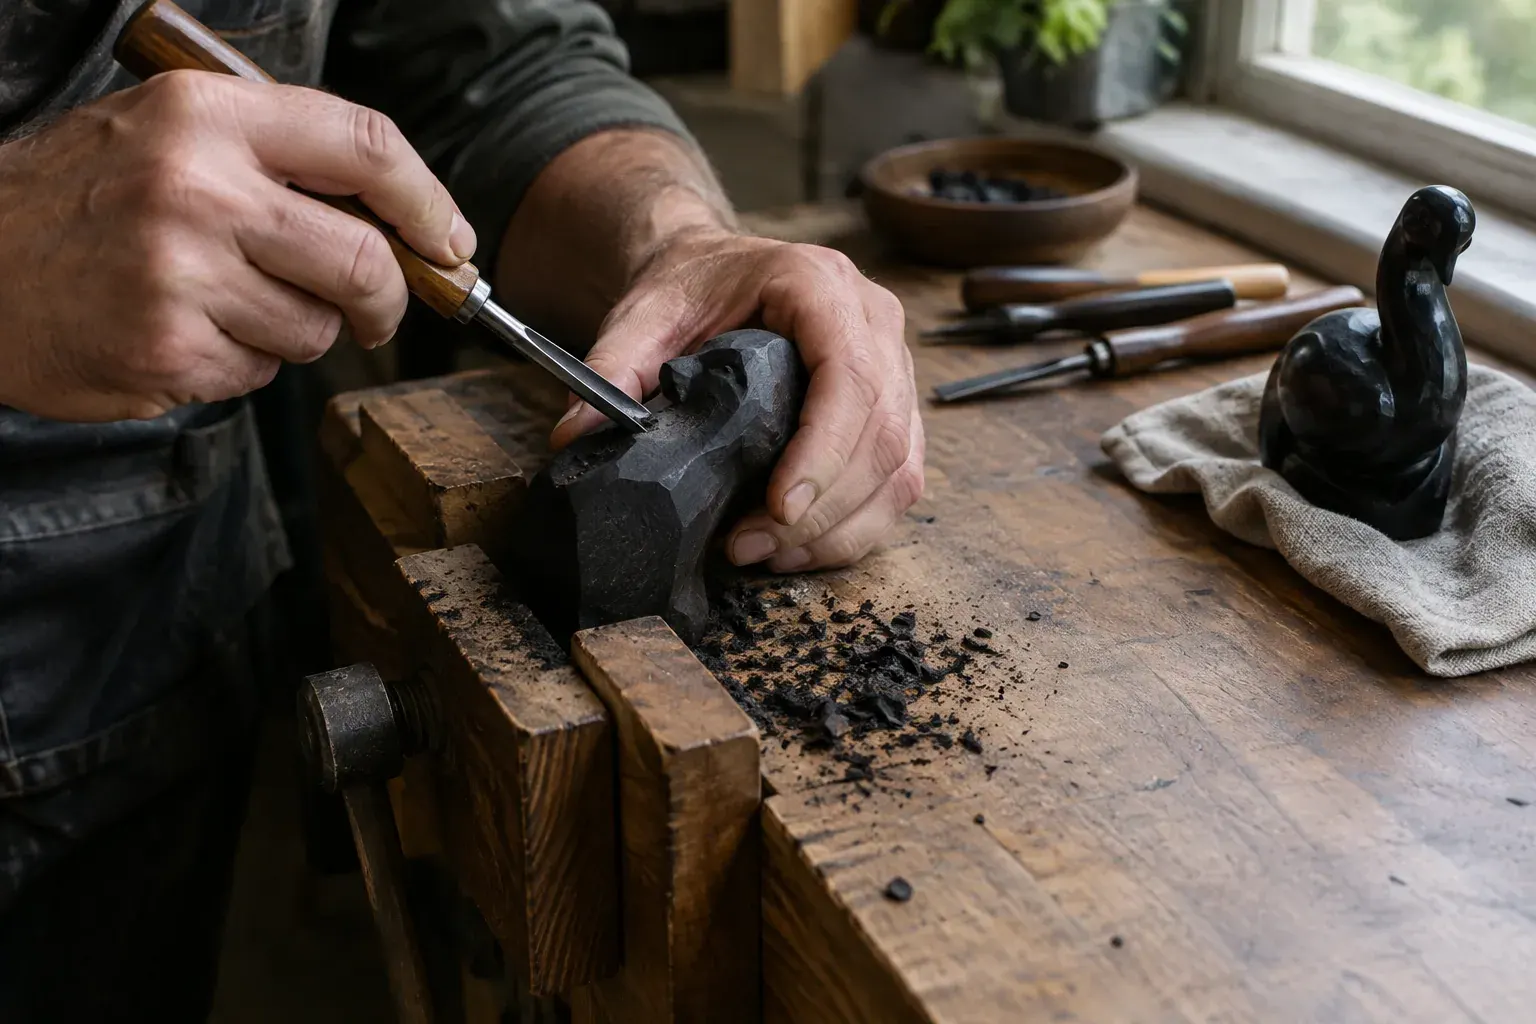
You can make a small relief carving with a few sharp hand tools. A basic setup includes a carving knife, one or two small gouges, a sharpening stone or strop, a carving clamp, a pencil and a small saw for trimming. A mallet is optional for larger tools, but a small first project should not require forceful strikes.
Sharp tools are safer and more controllable than dull ones because they need less pressure. Learn to sharpen on practice wood before working ebony. Keep fingers behind the cutting edge, make small cuts, and stop to reposition the piece rather than twisting your wrist to force a difficult cut.
Choose a dry, stable blank with no obvious cracks. A piece about 2 inches long, 1.5 inches wide and 0.5 inch thick is enough for a small relief design. Examine the grain on the faces and edges, then mark the direction in which the grain runs. If you are unsure how the wood will cut, test a corner or spare offcut first.
For tools and cutting sequence beyond this beginner setup, see Ebony Wood Carving Techniques: From Roughing Out to a Mirror Finish. It is still sensible to build basic control on a less costly wood before applying a detailed process to ebony.
Make a Simple First Ebony Project
A shallow leaf or teardrop relief is a useful first ebony project. It teaches you to follow a drawn outline and shape a surface without removing so much material that the small blank becomes fragile. Keep a flat border around the design to protect the edges.
- Draw the design. Sketch a simple leaf or teardrop on paper, then transfer it to the wood with a pencil. Avoid narrow points and deep undercuts, which are harder to cut cleanly.
- Secure the blank. Clamp it so it cannot rock or slide. Check that your hands and tools have a clear path, and that the clamp does not block the area you need to carve.
- Define the outline. Use a small, controlled knife cut to mark the boundary. Do not try to cut through the full depth in one pass.
- Lower the center gradually. Use a small gouge or knife to remove thin shavings from the inside of the outline. Work with the grain where possible, and change direction or take smaller cuts when the grain begins to lift.
- Refine and inspect. Round the raised form and soften the edges with shallow cuts. Pause often to view the surface from different angles and check for tear-out or a developing split.
- Smooth carefully. Use a fine file or sandpaper on a small sanding block, with dust collection and respiratory protection. Start with a grit that removes tool marks without gouging the surface, then move to finer grits. Remove the previous scratches before moving on.
- Finish only if needed. A clean, carefully carved surface may be left as is. If you want a finish, test it on an offcut first and follow the product label for use and disposal.
Do not force a cut that catches. Back out, rotate the piece in its clamp, and approach the area from a direction that does not lever the grain upward. If the blank cracks, stop and reassess instead of trying to hide the damage with more pressure.
Practice Woods and How to Transition
Practice first with woods that let you focus on tool control rather than the cost and sourcing questions that come with ebony. No substitute behaves exactly like ebony, so use a progression that builds different skills.
| Wood | What it helps you practice | Limitation to remember |
|---|---|---|
| Basswood | Basic cuts, outlines and safe hand positioning | Much softer than ebony, so it will not prepare you for the resistance of dense hardwood |
| Cherry | Following grain and making cleaner surface cuts | Grain can still change direction, and the wood cuts differently from ebony |
| Hard maple | Controlled cuts in a dense, hard wood | It can be demanding to carve and may blunt tools, so use small practice pieces |
| Ebony offcut | Final tool control, grain reading and finishing choices | Cost, dust and sourcing concerns make it a poor first material |
Start with basswood until you can make consistent shallow cuts and keep your supporting hand clear. Move to cherry, then try a small piece of hard maple to understand how a denser wood resists the blade. When you can control the tool without forcing it, use a documented ebony offcut for a modest design.
If you are comparing finishes or working with an older wood object as a separate project, Restoring Vintage Furniture: Essential Techniques to Transform Your Antiques covers restoration considerations that differ from carving a new sculpture. Do not apply furniture stripping products to an ebony blank unless the product is appropriate for the material and the label’s safety directions can be followed.
Common Mistakes to Avoid
- Buying by color alone. Trade names can be vague, and dark color is not proof of species or legal origin. Ask for identification and available provenance before paying.
- Starting with a large or intricate blank. A simple design gives you room to learn how this particular piece cuts. Save thin projections and deep carving for later.
- Using dull tools or excess force. Both make slips and tear-out more likely. Sharpen, take shallow cuts and change the angle when the grain resists.
- Ignoring dust because the piece is small. Sanding a small object can still put fine particles in the air. Use extraction and a respirator every time dust is generated.
- Sanding too aggressively. Heavy sanding can round crisp details and conceal rather than fix rough cuts. Refine the carving with tools first, then sand only as much as needed.
- Assuming a US seller has settled the legal questions. Ask for the species and origin, and verify current rules for regulated wood. If the seller cannot provide a clear answer, do not buy it.
- Finishing before testing. Ebony and finishes vary. Test the product on an offcut, follow label directions and allow it to cure as directed before handling the sculpture regularly.
The Bottom Line
Ebony’s density and fine texture can suit a small, carefully carved sculpture, but the wood rewards patience more than force. Start with a simple design, sharp tools and a dry, stable offcut whose species and source are documented.
Control dust with extraction, ventilation and a well-fitting respirator, and practice first on basswood, cherry or hard maple. If the wood’s identity or legal status is unclear, choose another material until you can confirm it.
Frequently asked questions
Is ebony a good wood for beginner carving?
It can be used for a small project, but it is hard, dense and often costly, so it is less forgiving than beginner woods. Learn basic cuts on basswood, then practice on cherry or hard maple before using a traceable ebony offcut.
What respirator should I use when carving ebony?
Use a well-fitting, NIOSH-approved particulate respirator, commonly an N95 or better, and follow its manufacturer’s instructions. Add dust collection and ventilation, especially when sanding or using powered tools.
How can I tell if ebony is legally sourced?
Ask for the scientific species name, country of harvest and available import or harvest documentation. Some species are subject to CITES controls, and the Lacey Act applies to unlawfully sourced wood; check current requirements with the relevant US agencies if the species or shipment is regulated.
What wood should I practice carving before ebony?
Basswood is useful for learning basic knife control because it cuts easily. Cherry and hard maple provide more practice with grain and resistance, though neither behaves exactly like ebony.
Can ebony dust cause health problems?
Ebony dust can irritate the eyes, skin and respiratory system, and some people may have stronger reactions. Reduce exposure with source capture, ventilation, a suitable respirator and careful cleanup; seek medical advice for persistent or serious symptoms.