How to Build a Square Foot Garden: Step-by-Step Instructions for Growing Vegetables at Home
A 4-by-4-foot raised bed can grow a surprising mix of vegetables when you plan the soil, grid and spacing before planting. Use these steps to fit the method to your climate and budget.
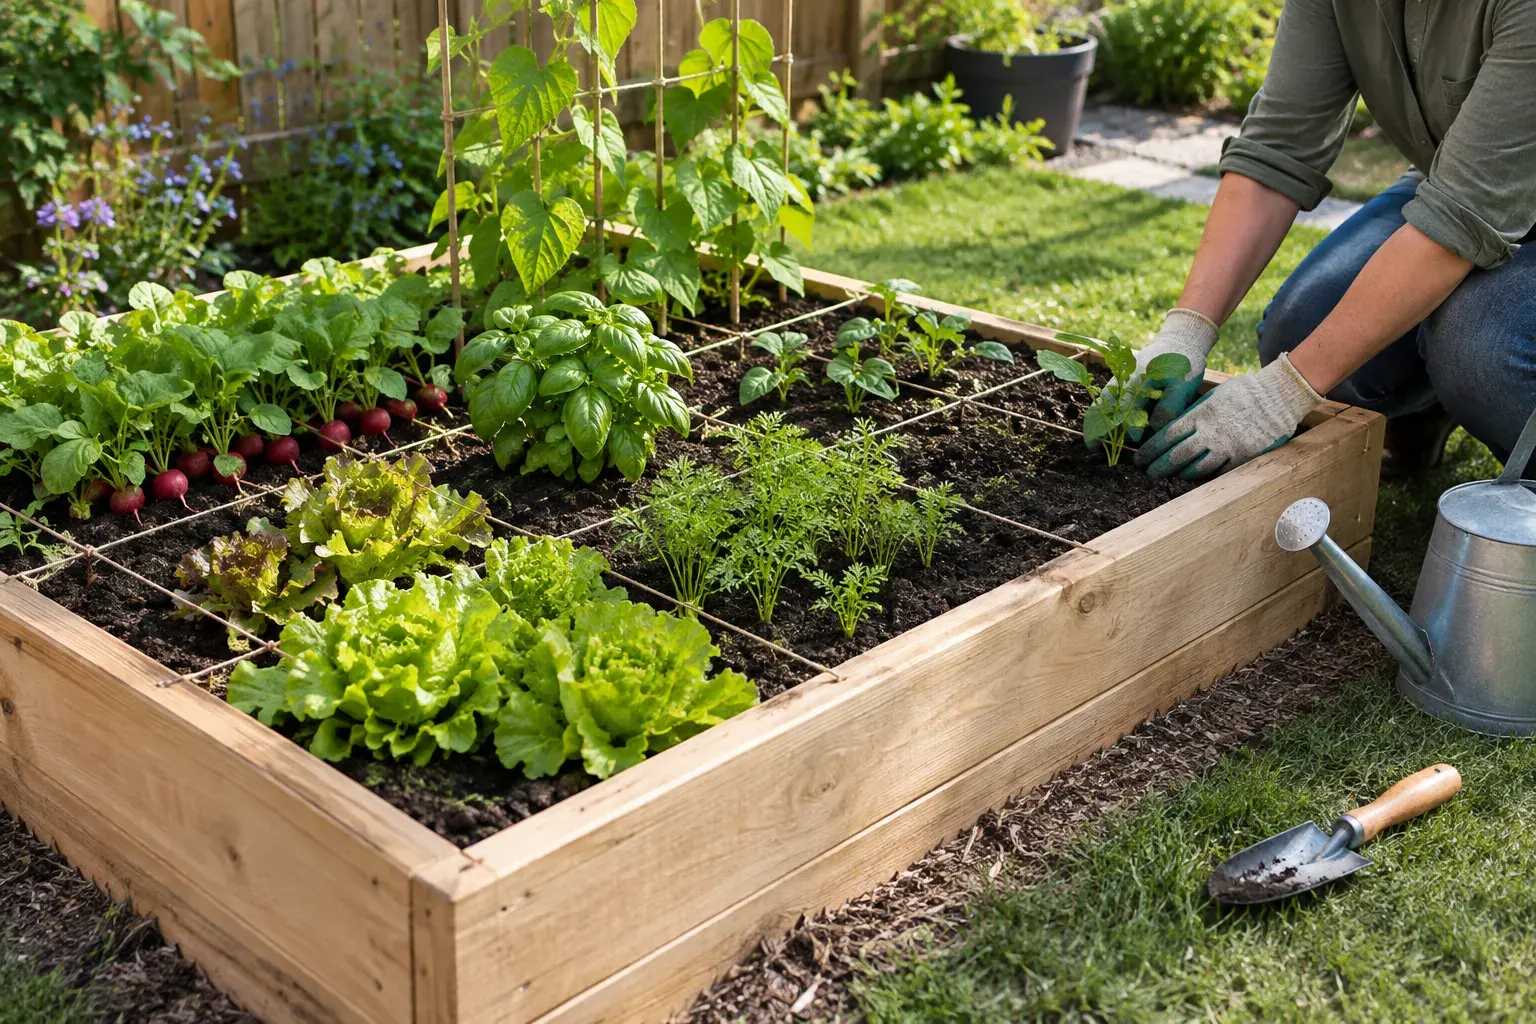
Key takeaways
- Plan a 4-by-4-foot bed with 16 one-foot squares, then choose crops that fit your sun, space and meals.
- Use a loose, well-draining mix and calculate its volume before buying soil or amendments.
- Treat plant counts as starting points, then follow seed packets and thin seedlings to their mature spacing.
- Use local frost dates and the forecast to time planting; USDA hardiness zones alone do not predict frost.
- Water when the soil is drying, and sow quick-growing crops in stages to keep the bed productive.
In this guide
- 1. Plan the bed and choose a site
- 2. Build a 4-by-4-foot raised bed
- 3. Add soil and install the grid
- 4. Choose plants and use sensible spacing
- 5. Time planting by frost dates, not hardiness zone alone
- 6. Water, maintain and plant in succession
- 7. Keep the project within budget
- Common mistakes to avoid
- The Bottom Line
A square foot garden is a compact raised bed divided into one-foot planting squares. The grid helps you plan a small harvest, use space efficiently and keep track of what is growing where.
This guide walks you through a 4-by-4-foot bed, from choosing a sunny site and building the frame to mixing soil, spacing crops and timing plantings. You can adapt the plan to your local frost dates, available materials and the vegetables your household actually eats.
1. Plan the bed and choose a site
A 4-by-4-foot bed has 16 square feet of growing space. It is small enough to reach the center from any side, but large enough for a mix of greens, roots, herbs and a few larger crops.
Pick a level or nearly level spot that gets at least 6 to 8 hours of direct sun for most vegetables. Leafy greens can tolerate some shade, while tomatoes, peppers and many fruiting crops need more sun to produce well. Check the site at different times of day, and keep the bed close enough to a water source that watering is easy.
Before building, check where rainwater runs and avoid low spots that stay soggy. If the ground may be contaminated, such as near an old painted structure or a site with a known history of industrial use, ask your local Cooperative Extension office about soil testing and safer growing options.
Decide what you want to harvest before you buy seed. A bed packed with vegetables your family rarely eats is not a good use of space. Sketch 16 squares on paper, note which crops need a trellis, and leave room to reach the bed without stepping on the soil.
2. Build a 4-by-4-foot raised bed
For a simple frame with a 4-foot interior width and length, use untreated 2-by-10-inch lumber. Lumber sizes are nominal, so a 2-by-10 is usually about 1.5 inches thick and 9.25 inches tall. Cut two boards to 51 inches and two to 48 inches. Attach the shorter boards between the longer boards so the inside opening measures 48 by 48 inches.
Use exterior-rated screws long enough to join the boards securely, and predrill near the ends to reduce splitting. Set the frame on level ground, check the corners, then adjust it before filling. If you want to anchor the frame, use stakes at the corners. Call 811 before digging where required, and check local requirements for utility marking.
Untreated cedar or redwood can last longer outdoors than some less durable woods, but they may cost more. Untreated pine is another option and may need replacing sooner. Avoid railroad ties and lumber of unknown history. If you already have materials, confirm they are clean and appropriate for a food garden before using them.
Remove tall grass and perennial weeds inside the frame. You can lay plain cardboard over the ground to smother existing grass, then wet it before adding soil. Avoid stepping inside the bed after it is filled, since compacted soil is harder for roots and water to move through.
Safety note: Wear eye protection when cutting or fastening lumber, and use tools according to their instructions. If you do not have the equipment or experience to cut boards safely, ask a lumberyard to make the cuts or have someone qualified help.
3. Add soil and install the grid
Vegetables need loose soil that holds moisture without staying waterlogged. A common square foot gardening mix uses equal parts by volume of compost, vermiculite and peat moss. Coconut coir can replace peat moss, though coir may need to be soaked and fluffed before it mixes evenly.
Use finished compost from more than one source when practical, rather than relying on a single material. Avoid filling the bed with straight compost or fresh manure. Compost quality varies, and overly rich or salty material can harm seedlings. If you use a commercial raised-bed mix, check its ingredients and whether it is intended to be used on its own or blended with other materials.
A 4-by-4-foot bed filled to 9 inches holds about 12 cubic feet of mix. That is roughly 4 cubic feet of each ingredient for a one-third mix, with a little extra useful because soil settles. A single 2-by-10 frame is about 9.25 inches tall, so leave a small gap below the top edge.
Mix the ingredients on a tarp or in batches in the bed. Break up clumps, remove large sticks and water the mix lightly as you fill so it settles evenly. If your native soil is healthy and you are building directly on the ground, roots can grow into it through the bottom. A raised bed does not need a solid bottom, and blocking drainage can create water problems.
Mark the grid after the soil is in place. Measure every 12 inches along each side and attach string, narrow slats or other weather-resistant dividers across the bed. You should have 16 squares, each 12 by 12 inches. The grid is a planning aid, not a barrier: roots and leaves can spread across square boundaries.
Good to know: Replenish the bed after each growing season with finished compost, then mix it into the top few inches. Do not assume that topping up with compost alone restores every nutrient; a soil test can help identify what the bed actually needs.
4. Choose plants and use sensible spacing
Plant counts depend on mature plant size, variety and whether you will trellis the crop. The table gives common starting points for one square. Space seeds evenly, then thin seedlings rather than leaving every seedling in place. For transplants, set each one at the spacing recommended on its label.
| Crop | Starting number per 1-foot square | Notes |
|---|---|---|
| Tomato | 1 | Use a cage or trellis; choose a compact variety for a small bed. |
| Bell pepper or eggplant | 1 | Give the plant room to branch and avoid crowding it with a large neighbor. |
| Broccoli or cabbage | 1 | Large plants can shade nearby squares as they mature. |
| Leaf lettuce | 4 | For small heads, use the variety’s spacing instructions. |
| Spinach | 9 | Thin crowded seedlings and harvest outer leaves as appropriate. |
| Bush beans | 9 | Sow seeds in a loose, even pattern and thin if growth is crowded. |
| Pole beans or peas | 8 | Add a sturdy trellis along the north side when possible. |
| Carrots | 16 | Thin carefully so roots have room to size up. |
| Radishes | 16 | Fast-growing varieties are useful for repeat sowings. |
| Beets or onions | 9 | Counts vary with variety and the size you plan to harvest. |
| Basil | 4 | Keep it near the front or edge where you can harvest regularly. |
| Cucumber | 2 | Trellis vines to save ground space; select a suitable variety. |
| Zucchini or summer squash | 1 per 2 squares | Large leaves spread widely; let them grow over the bed edge if possible. |
These are planning estimates, not rules that override the seed packet. Some varieties grow larger than others, and closely spaced plants may produce smaller crops or have more disease problems. If a plant needs more room, give it more squares rather than forcing it into a tight grid.
A trellis can make better use of vertical space for peas, pole beans and some cucumbers. Put it on the north side where possible so it is less likely to shade shorter plants. Anchor it well, since mature vines can catch wind.
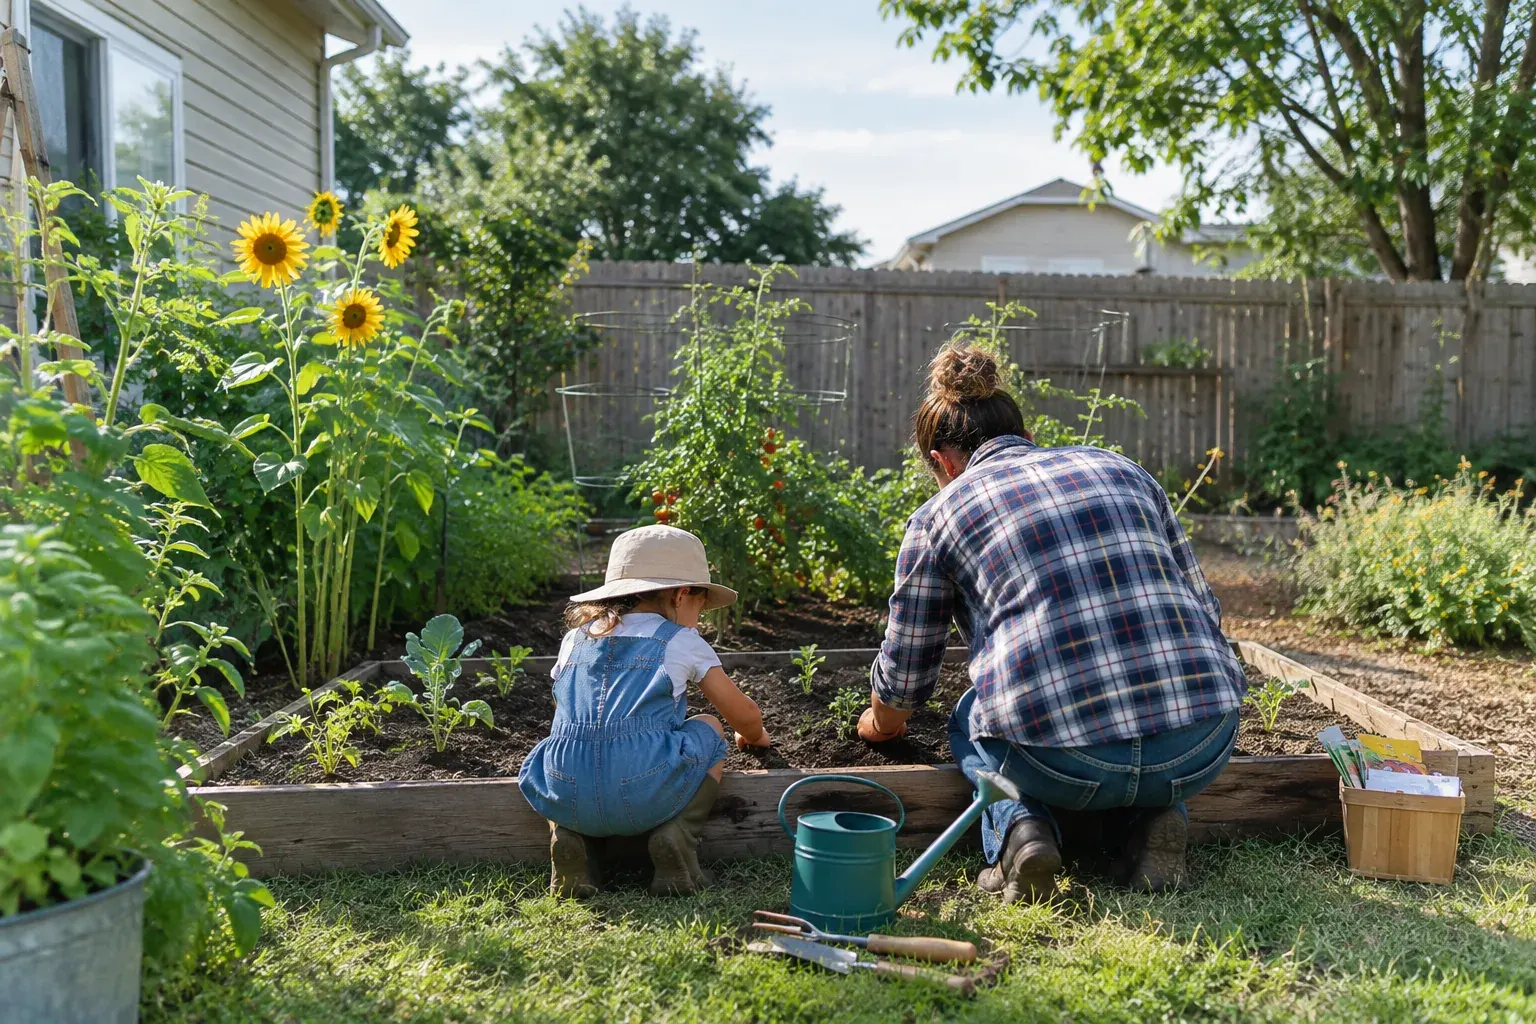
For practical ways to reduce chemical use and support healthy soil, see our guide to organic gardening techniques. If children will help plant or harvest, gardening with kids offers ideas for making garden tasks manageable.
5. Time planting by frost dates, not hardiness zone alone
USDA hardiness zones describe average annual extreme winter lows. They can help you choose perennial plants, but they do not tell you when the last spring frost or first fall frost will occur. For vegetables, look up your area’s typical frost dates through your local Extension office or another trusted local gardening resource, and use the forecast as planting time approaches.
Cool-season crops such as lettuce, spinach, peas, radishes and many root vegetables can often be planted before the last spring frost, depending on the crop and local conditions. Warm-season crops such as tomatoes, peppers, cucumbers, beans and basil are sensitive to cold. Wait until frost risk has passed and the soil has warmed enough for the crop, especially before planting heat-loving vegetables.
For a fall harvest, count backward from your expected first fall frost using the variety’s days to maturity, then add extra time for slow growth or short days. That number is an estimate, not a guarantee. In hot regions, fall planting may be easier than summer planting for greens; in colder regions, choose quick-maturing varieties and protect crops when temperatures drop.
Check seed packets for sowing depth, days to maturity and temperature guidance. Your area’s microclimate matters too: a sunny wall may warm sooner, while a low spot can collect cold air. Local conditions can differ across a single yard, so keep notes about what succeeds.
6. Water, maintain and plant in succession
New seeds and transplants need consistent moisture while roots establish. Water the soil rather than spraying leaves, and check moisture with a finger a couple of inches below the surface. If the soil is dry at that depth, water slowly until moisture reaches the root zone. Raised beds can dry faster than in-ground gardens, especially in hot, windy weather.
About 1 inch of water per week, including rainfall, is a common starting point for many vegetables, but it is not a fixed schedule. Heat, wind, soil texture, plant size and drainage change how much your bed needs. A simple rain gauge and regular soil checks are more useful than watering by the calendar alone. Morning watering gives leaves time to dry if they get wet.
Pull weeds while they are small, and check the undersides of leaves for pests. Remove damaged plant material, use row covers when appropriate, and avoid crowding plants. Rotate crops by family when you can, especially in a larger garden. If a plant is repeatedly diseased or heavily infested, remove it and seek crop-specific advice from your Extension office.
Succession planting means sowing a crop again after an earlier planting is harvested or removed. Try sowing a small patch of radishes, lettuce or beans every 1 to 3 weeks while conditions suit the crop. Do not replant automatically if the weather has turned too hot or too cold; choose a crop suited to the next part of your season.
Keep a simple record of the square, crop, variety and planting date. When a crop finishes, add compost if needed and use the empty square for a quick replacement. That makes the grid useful throughout the season rather than just at planting time.
7. Keep the project within budget
Costs depend on your lumber, soil ingredients, tools and whether you start from seed or buy transplants. Get local prices before choosing the frame and mix. Compare the full cost of materials, including delivery, fasteners and any tools you need, rather than comparing lumber prices alone.
| Budget choice | Ways to keep costs down | Trade-off to consider |
|---|---|---|
| Frame | Use sound, untreated lumber you already own or buy a basic board size. | Reused wood may not last as long; verify its history and condition. |
| Growing mix | Compare local bulk compost and bagged ingredients by volume. | Bulk delivery can be economical, but you may need a place to unload and mix it. |
| Seeds and plants | Start easy crops such as beans, lettuce and radishes from seed. | Seed starting indoors may require lights, containers and extra time. |
| Watering | Use a hose or watering can you already have; add a rain gauge if useful. | Hand watering takes attention, particularly in hot weather. |
| Tools | Borrow or share a trowel, rake and level before buying. | A low-cost tool that breaks quickly may cost more over time. |
A basic bed can be inexpensive if you already have tools and can source safe materials, while a deeper, larger or delivered setup costs more. Do not save money by using questionable lumber, contaminated fill or unfinished manure. Price materials in your area and reduce the project to what you can maintain.
Common mistakes to avoid
- Making the bed too shady: A few hours of sun can limit fruiting crops. Match the crop list to the light you actually have.
- Using a grid as a reason to overplant: One square does not fit every crop. Large plants need extra space even if that means fewer varieties.
- Buying soil without checking its volume: Calculate the bed’s length, width and fill depth first, and allow for settling.
- Planting by zone alone: Hardiness zones are not frost-date calendars. Use local frost information and current weather.
- Watering on a rigid schedule: Check the soil and rainfall. Both underwatering and constantly soggy soil can stress plants.
- Planting every square at once: Stagger quick crops so you do not get more produce than you can use in one week.
- Skipping harvests: Pick crops at the stage recommended for the variety. Regular harvesting can make space for the next planting and help you notice problems early.
The Bottom Line
A square foot garden works best when its small footprint is planned around sunlight, mature plant size and the vegetables you want to eat. Build a sturdy 4-by-4-foot frame, fill it with a well-draining mix, mark 16 squares and use crop-specific spacing rather than treating every square alike.
Time planting with local frost information, check moisture instead of following a fixed watering schedule, and refill open squares with crops suited to the season. Start with a manageable mix of vegetables, keep notes and adjust the plan as you learn what grows well in your yard.
Frequently asked questions
How many plants can you grow in a square foot garden?
It depends on the crop. A square may hold one large plant such as a tomato, four leaf lettuces, nine beets or 16 small carrots, but variety and mature size matter. Check the seed packet and thin seedlings to the recommended spacing.
How deep should a square foot garden bed be?
A frame about 9 inches deep can grow many vegetables, especially when roots can continue into healthy ground below it. Deeper-rooted crops benefit from more loose soil, so use a deeper bed if the ground is compacted, rocky or unsuitable for growing.
What is the best soil mix for a square foot garden?
A common mix uses equal volumes of finished compost, vermiculite and peat moss, with coconut coir as a peat alternative. Use compost from reliable sources, avoid fresh manure, and make sure the finished mix drains well while holding moisture.
When should I plant a square foot garden?
Use your local average last and first frost dates as a planning guide, then check the forecast before planting. Cool-season crops can often go in earlier than frost-sensitive crops such as tomatoes, peppers and beans. USDA hardiness zones do not provide frost dates.
How often should I water a raised square foot garden?
There is no reliable fixed schedule because heat, wind, rainfall and soil all affect drying. Check the soil a couple of inches below the surface and water when it is dry there, aiming to moisten the root zone without leaving the bed soggy.