Wildlife Photography Tips: How to Capture Captivating Animal Images
Better wildlife photos start with patience, sound camera settings and respect for the animal. Use this guide to plan a safe, ethical shoot with the gear you have.
Key takeaways
- Keep a safe distance and follow the specific rules for the park, refuge or public land you visit.
- A camera with a telephoto lens is useful, but patience and steady technique matter more than expensive gear.
- Start with continuous autofocus, burst mode and a shutter speed fast enough to freeze the animal's movement.
- Look for soft light near sunrise or sunset, and plan around the animal's natural routine.
- Stay on permitted routes, never bait or chase wildlife, and leave if your presence changes its behavior.
In this guide
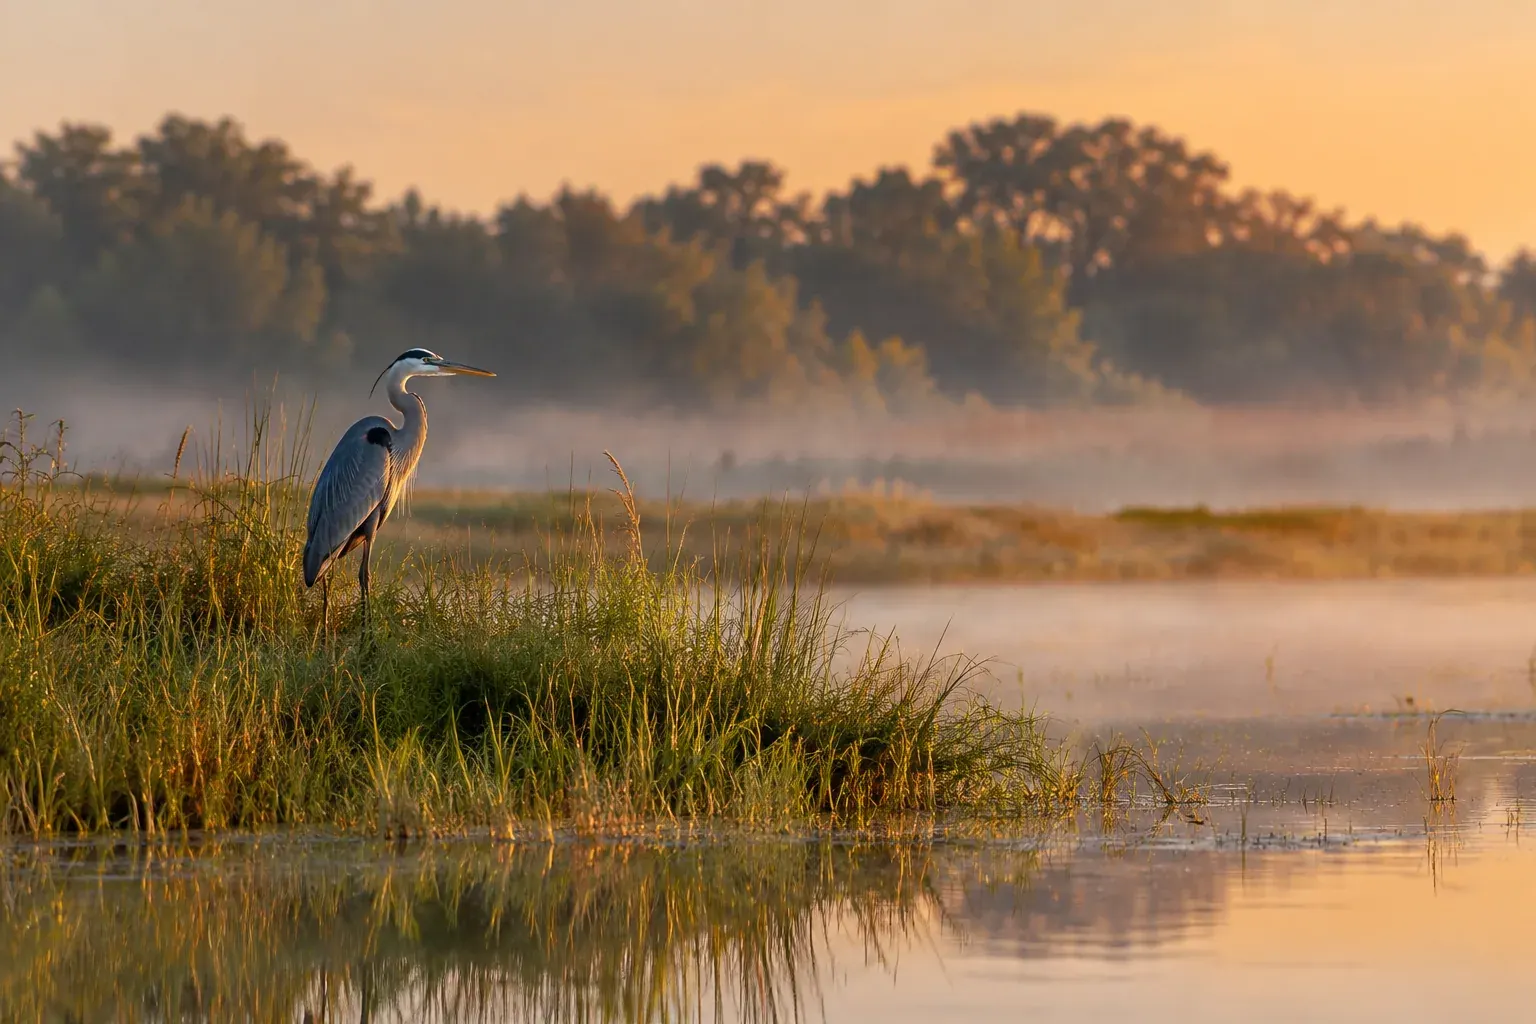
Wildlife photography can mean waiting quietly for a heron to take off, or making a quick handheld image of a deer along a trail. You do not need a professional camera to begin, but you do need to put the animal’s safety ahead of the photograph.
This guide covers ethical distance, beginner gear, practical camera settings, light, fieldcraft and composition. It also explains how to plan a visit to a national park or national wildlife refuge without assuming that every place has the same rules or access.
Put wildlife welfare and safety first
A good photograph should not require an animal to flee, change its feeding routine or look toward you in alarm. If an animal pauses what it is doing to watch you, moves away, gives warning signals or appears agitated, you are too close or have stayed too long. Back away calmly and give it space.
National Park Service guidance commonly sets a minimum distance of 25 yards from most wildlife and 100 yards from bears and wolves. Rules can vary by park and species, and a park may require more space in a particular area. Check current park rules before your visit, obey posted closures and follow any instruction from a ranger. A zoom lens does not grant permission to approach.
Use these basic practices:
- Keep to trails, roads and designated viewing areas unless the land manager allows other access.
- Never surround, corner, chase, touch or feed an animal. Do not use bait, recorded calls or drones to draw wildlife closer.
- Keep a clear route for the animal to leave. Do not block a den, nest, burrow, water source or escape path.
- Stay back from nests and young animals. An adult that leaves may be responding to your presence, even if you do not see obvious distress.
- Do not stop in a roadway or create a traffic hazard for a photo. Use a designated pullout where available.
Safety note: Wildlife can injure people without warning, including animals that appear calm or accustomed to visitors. Follow local guidance for bears and other potentially dangerous species, secure food as required, and leave the area if an animal approaches.
Choose beginner gear that fits your plans
Start with a camera you can use confidently. A mirrorless or DSLR camera with interchangeable lenses offers control and a viewfinder, but a bridge camera or a newer phone can still make useful images in good light. Learn what your current equipment can do before buying a longer lens.
A telephoto lens helps you frame an animal from a respectful distance. A lens in the 70-300mm range is a common starting point for larger animals and accessible viewing areas. Longer options, such as a 100-400mm or 150-600mm lens, can help with small or distant subjects, but they are heavier and may cost more. The best choice depends on your camera, budget, the animals you expect to photograph and how much weight you are willing to carry.
| Gear | What it helps with | Beginner guidance |
|---|---|---|
| Camera with a viewfinder | Tracking animals and controlling exposure | Choose one with continuous autofocus and burst shooting if possible |
| Telephoto lens | Filling more of the frame from a distance | Check lens compatibility and weight before buying |
| Extra battery and memory card | Avoiding interruptions in the field | Carry them in a weather-resistant pouch |
| Strap or camera bag | Carrying gear safely while walking | Pick a setup you can manage on uneven ground |
| Monopod or tripod | Supporting heavier lenses during long waits | Use only where it is practical and permitted |
A lens hood can reduce stray light and help protect the front of a lens. A microfiber cloth and a simple rain cover are useful in changing weather. Binoculars can help you locate animals without repeatedly raising a camera or moving closer.
Good to know: A crop-sensor camera can make a lens frame more tightly than a full-frame camera, but it does not physically increase a lens’s focal length or replace getting a safe, clear view. Distance, light, focus and technique still matter.
Set your camera for movement
Wildlife rarely waits while you adjust every control. Before you start walking, set the camera to continuous autofocus, often labeled AF-C or AI Servo, so it can keep adjusting focus as an animal moves. Use a single point or a small focus area when branches or tall grass might confuse automatic subject detection. Animal-eye detection can help when it works, but review focus in the field rather than assuming every frame is sharp.
Choose a shutter speed based on what the animal is doing. The following are starting points, not guarantees. A fast-moving subject, a long lens or an unsteady camera may call for a faster speed.
| Situation | Starting shutter speed | Notes |
|---|---|---|
| Still animal in steady light | 1/500 second | Use a faster speed if the animal turns or walks |
| Walking animal or active bird | 1/1000 second | Helps limit blur from ordinary movement |
| Bird in flight or sudden action | 1/2000 second or faster | Requires good light and quick tracking |
| Intentional motion blur | 1/30 to 1/125 second | Keep the camera steady and expect many misses |
For a first outing, try shutter-priority mode, usually marked S or Tv, and select a speed suited to the action. Set Auto ISO so the camera can raise sensitivity as light changes, and set a maximum ISO you are comfortable with after testing your camera. If you prefer aperture priority, open the aperture to let in more light and use Auto ISO with a minimum shutter speed if your camera offers that control.
Use burst mode for a brief sequence when an animal is moving, taking off or interacting. A short burst gives you options for timing, but it is not a substitute for tracking the subject or anticipating what it may do. Check your remaining memory and avoid holding the shutter down continuously.
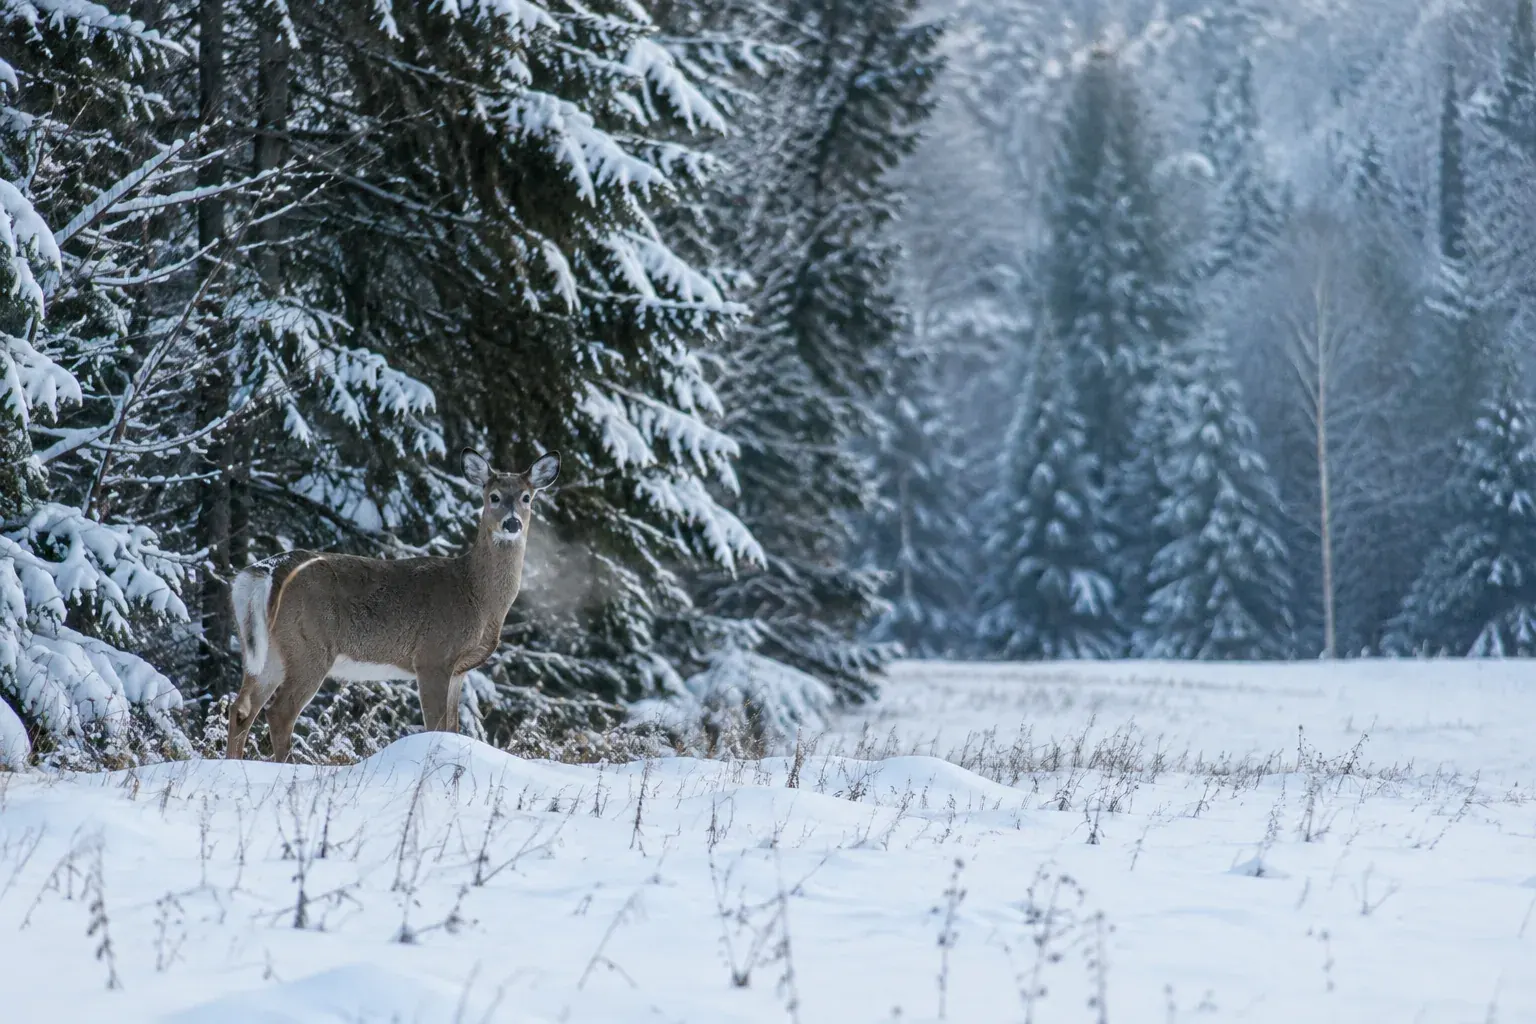
Shoot RAW if you are comfortable editing, or RAW plus JPEG if you want a ready-to-share file and more flexibility later. Review the histogram or highlight warning when possible. Bright snow, pale birds and reflective water can fool the meter, so use exposure compensation and check that important detail is not washed out. On a bright snow scene, a small positive adjustment may help; inspect the result rather than applying a fixed correction to every scene.
Use light and timing to your advantage
The hour after sunrise and the period before sunset often bring softer, warmer light than midday. The low angle can add texture to fur and feathers and create a more dimensional background. It is not a rule that you must follow: overcast skies can produce even light, and midday may work well under tree cover or when you need a fast shutter speed.
Pay attention to where the light falls. With the sun behind you, an animal’s face may be evenly lit. Side light can bring out texture, while backlight can make a rim of light around fur or feathers. If the animal is backlit, expose for the subject and check that the background does not become distracting or overly bright.
Plan around the animal and the place, not just the clock. Research seasonal access, likely habitat and viewing areas before you go, then allow time to wait without moving closer. Wildlife activity varies by species, weather and season, and a quiet outing may produce no close view at all. For winter conditions and low light, see Winter Wildlife Photography: Essential Tips for Snow, Cold and Low Light.
Practice fieldcraft without disturbing animals
Fieldcraft means noticing what is happening around you and moving in ways that do not disrupt it. Walk slowly, keep your voice low and pause often to scan with binoculars. Wear weather-appropriate, muted clothing if it helps you blend into the setting, but do not use camouflage as a reason to approach or hide near wildlife.
Before setting up, look for signs that an animal is uncomfortable: repeated alarm calls, tense posture, repeated glances in your direction, retreating, or adults leaving young. Behavior varies across species, so do not treat one sign as a complete checklist. The safest response to uncertainty is to increase your distance.
At a refuge, park or other managed area, check current access information before leaving home. Trails, overlooks and roads may close seasonally to protect wildlife or for safety. Some refuges have wildlife observation areas, blinds or photography rules, but availability and restrictions differ. The U.S. Fish and Wildlife Service manages national wildlife refuges, while national parks and other public lands have their own rules. Ask staff or a ranger if you are unsure.
You can also learn how responsible animal viewing works in How to Find, Visit and Support an Ethical Animal Sanctuary. A sanctuary is not the same as a wild habitat, so follow its visitor and photography policies rather than assuming park rules apply.
Pro tip: Make a plan for the whole visit: check access and weather, identify a permitted viewing area, bring water and layers, and tell someone where you will be if you are going somewhere remote.
Build a stronger composition
A technically sharp picture can still feel crowded or confusing. Before pressing the shutter, check the edges of the frame for branches, bright patches or objects that compete with the animal. Move your position only if you can do so without leaving a permitted route or changing the animal’s behavior.
Try these composition choices:
- Leave space in front of an animal that is looking or moving in a direction. This gives the frame room to breathe.
- Include part of the habitat to show where the animal lives, rather than filling every frame with a tight portrait.
- Get near the animal’s eye level when that is possible from a safe, legal position. A lower angle can make the image feel more direct.
- Look for a clean background and a clear separation between the animal and nearby branches or grass.
- Focus on the eye for a portrait. If the animal is small in the frame, make sure the setting still helps tell the story.
Try more than one framing when the scene allows: a close portrait, a wider environmental image and a moment that shows behavior. Keep the subject’s surroundings intact. Avoid altering an image in a way that misrepresents the animal’s location or behavior, and disclose substantial edits when the context calls for it.
National parks and national wildlife refuges can offer a range of habitats, from forests and wetlands to deserts and coastal areas. Look for official viewing areas, visitor information and seasonal access details before choosing a destination. A local refuge or nearby park may be a better first outing than a long trip because you can return, learn the light and practice without rushing.
Common mistakes to avoid
- Getting closer for a tighter frame: Use a longer lens, wait for a better angle or make a wider habitat photograph. Never pressure an animal to move into position.
- Using too slow a shutter speed: A stationary animal can still move its head or breathe. Check sharpness at playback and raise the speed if blur appears.
- Focusing on the background: Choose a smaller focus area when branches or reeds compete with the subject, and confirm focus on the eye when possible.
- Ignoring the background: A bright patch or branch through the animal’s head can weaken an otherwise strong image. Reframe from a permitted position.
- Relying on one burst or one outing: Wildlife behavior is unpredictable. Take time to observe, and treat missed photos as a reason to learn rather than to disturb an animal.
- Assuming all public land has the same rules: Check restrictions for the specific site, including closures, drone rules, trail access and photography limits.
The Bottom Line
You can make compelling wildlife photographs with basic gear when you combine a fast-enough shutter, reliable focus, careful observation and patience. Soft light and a thoughtful composition help, but the animal’s welfare comes first.
Check local rules before each visit, keep a respectful distance and leave wildlife undisturbed. A safe, ethical photograph is worth more than a closer frame.
Frequently asked questions
What camera settings should I use for wildlife photography?
Start with continuous autofocus, burst mode and a shutter speed around 1/1000 second for walking animals or active birds. Use Auto ISO to adapt to changing light, then check focus and exposure in playback because the right settings depend on the animal, lens and conditions.
What lens is best for beginner wildlife photography?
A 70-300mm zoom is a practical starting point for many beginners, especially for larger animals and accessible viewing areas. Choose a lens that fits your camera and that you can carry comfortably, and always photograph from a safe distance.
How close can you get to wildlife in a national park?
National Park Service guidance commonly uses a minimum of 25 yards for most wildlife and 100 yards for bears and wolves. Individual parks or situations may require more distance, so check the current rules for the specific park and follow any posted instructions.
What is the best time of day for wildlife photography?
Early morning and late afternoon often provide softer light, but animal activity varies by species, season and location. Overcast conditions can also work well, so plan around access rules and the animal's behavior rather than relying only on a particular hour.
Where can I photograph wildlife in the United States?
National parks and national wildlife refuges are options, along with state and local parks where wildlife photography is allowed. Check the land manager's current rules, closures and access information before you go, since restrictions differ by site and season.